
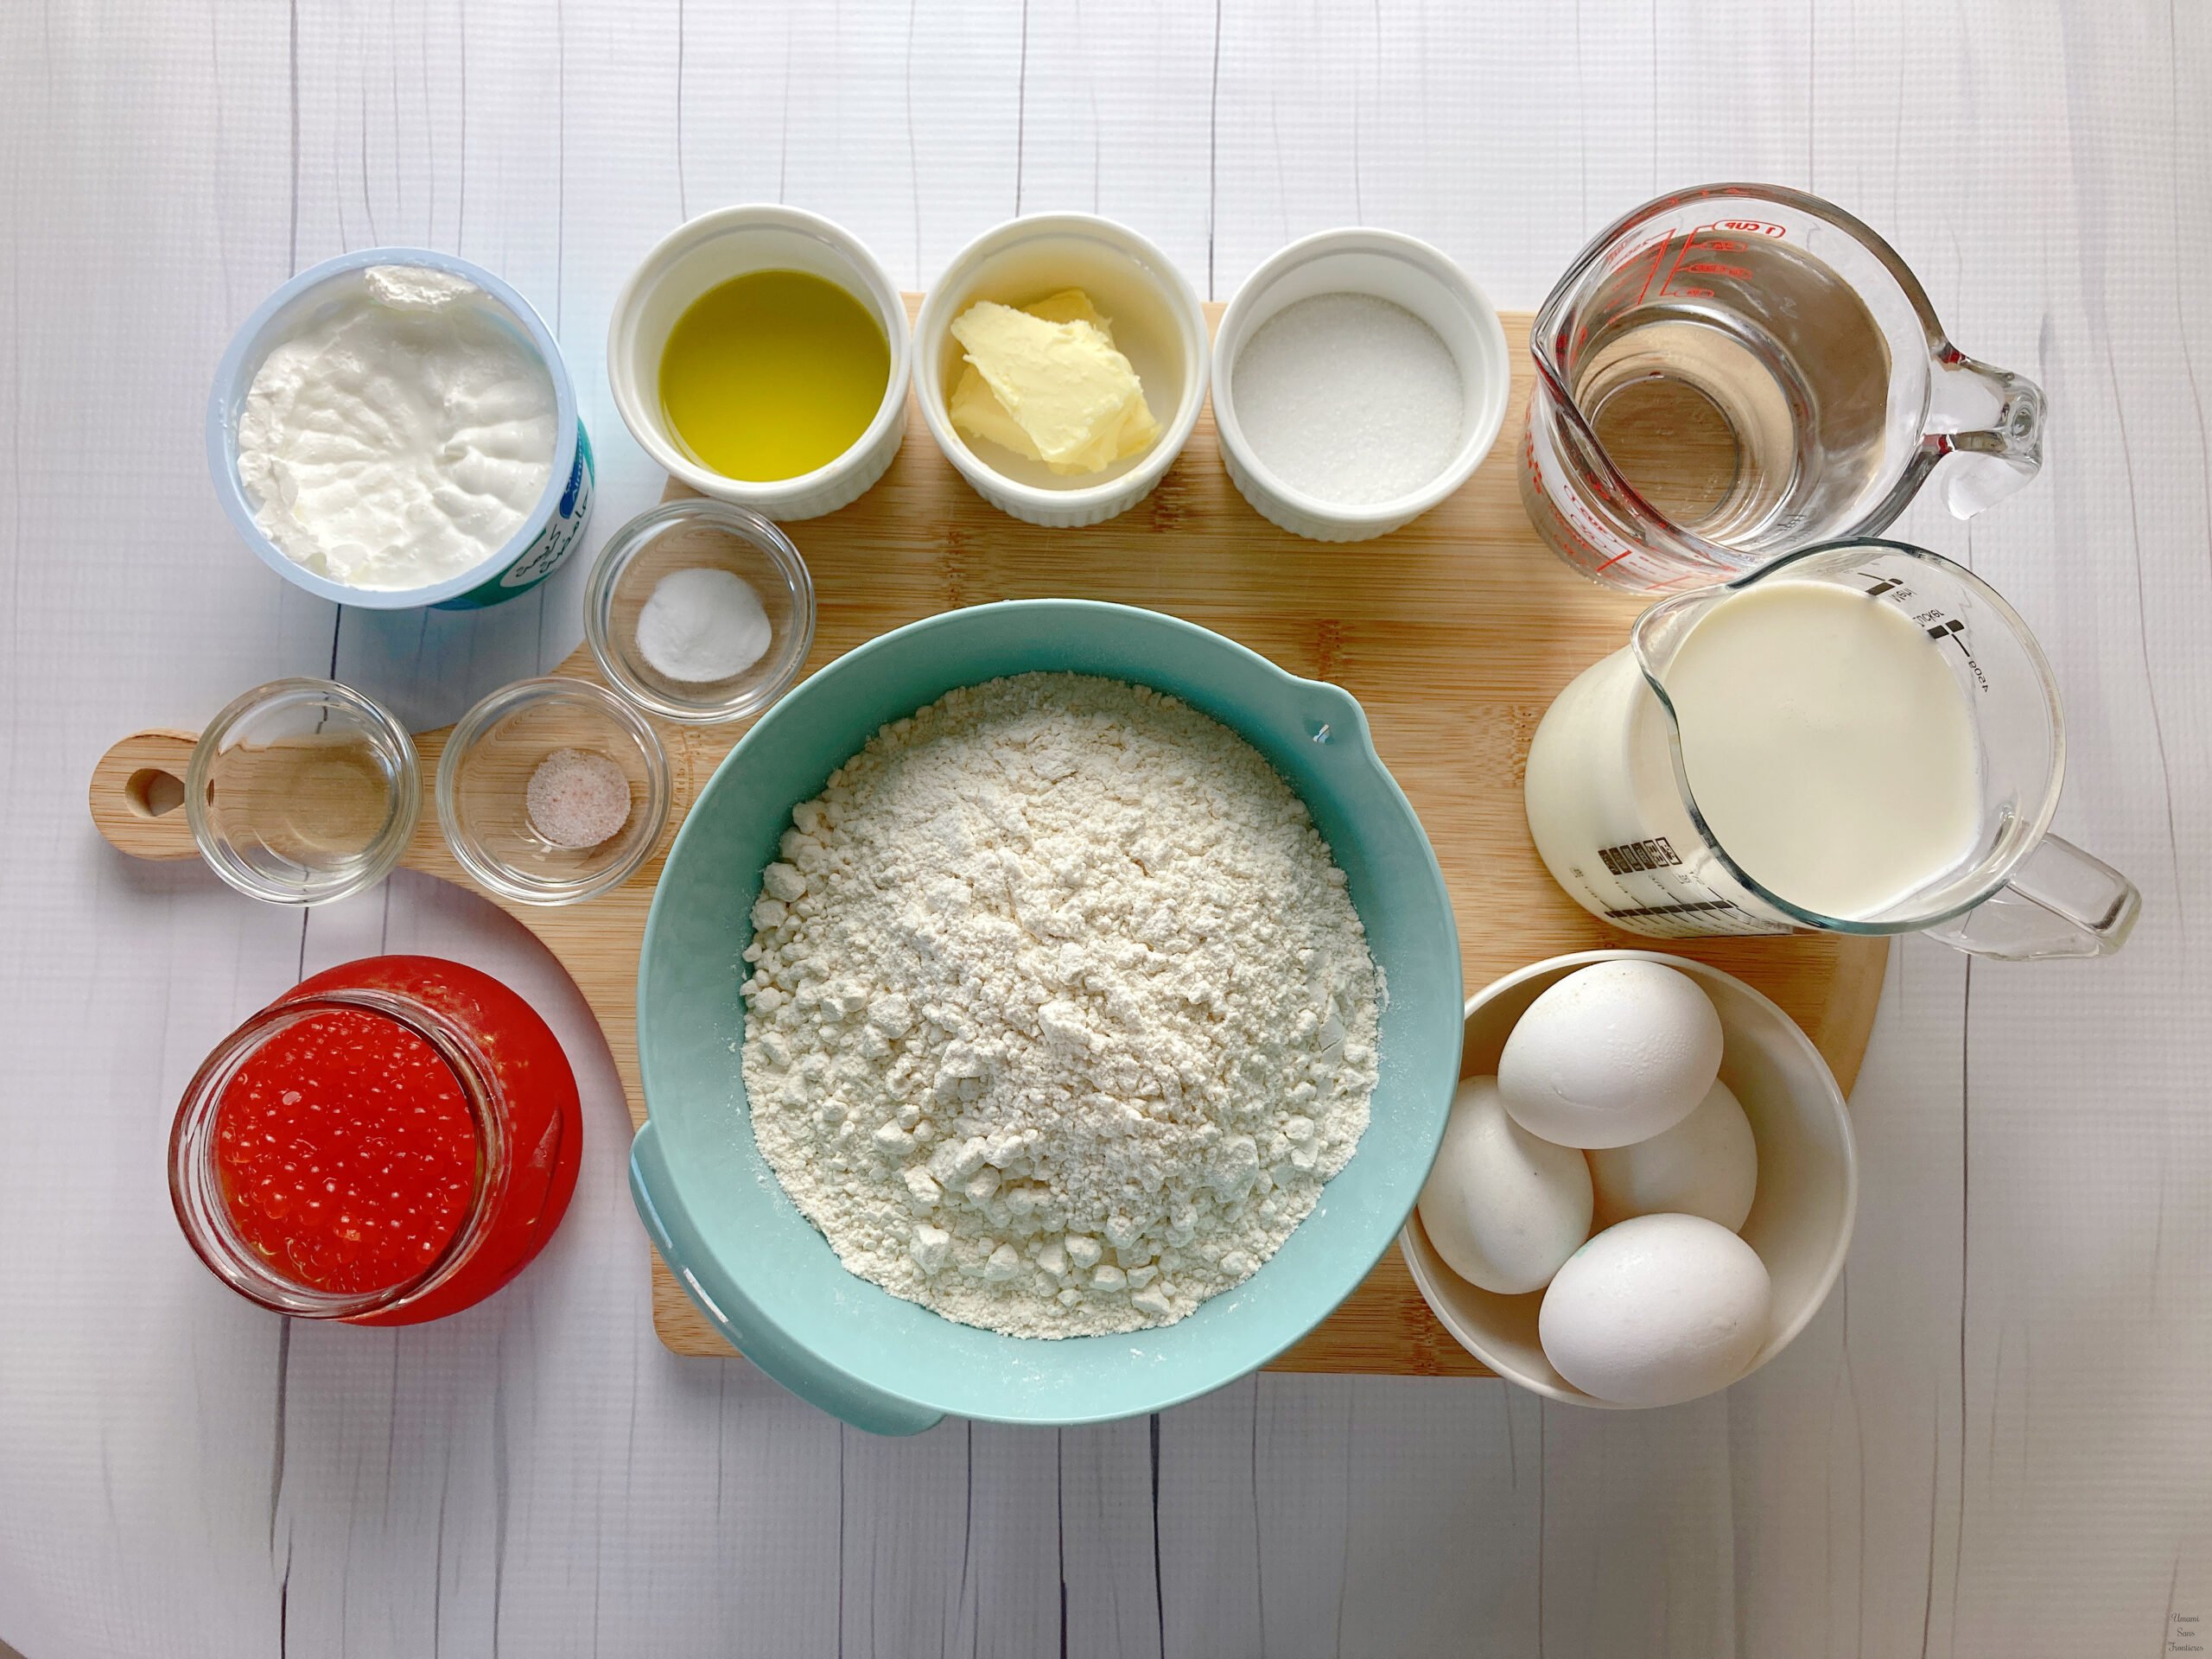
1/ Prepare the liquid base: In a large bowl, combine the milk and hot boiled water. Add the sugar and salt, and whisk well until dissolved. (Using hot water gives the batter a slightly thicker and more elastic texture.)
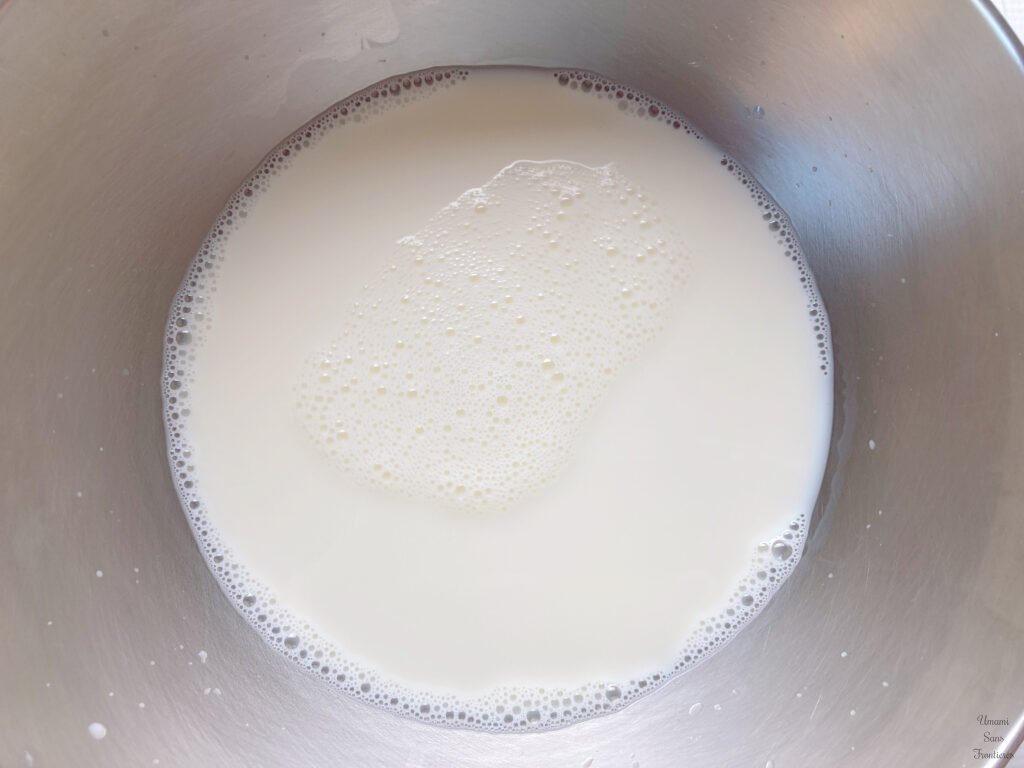
2/ Add the eggs: In a separate small bowl, crack the eggs and beat them lightly. Gradually pour the beaten eggs into the milk mixture, whisking as you go.

3/ Add the baking soda: Once the eggs are well incorporated, add the baking soda and mix to combine. This will react with the acid (lemon juice or yogurt added later) to make the batter light and fluffy.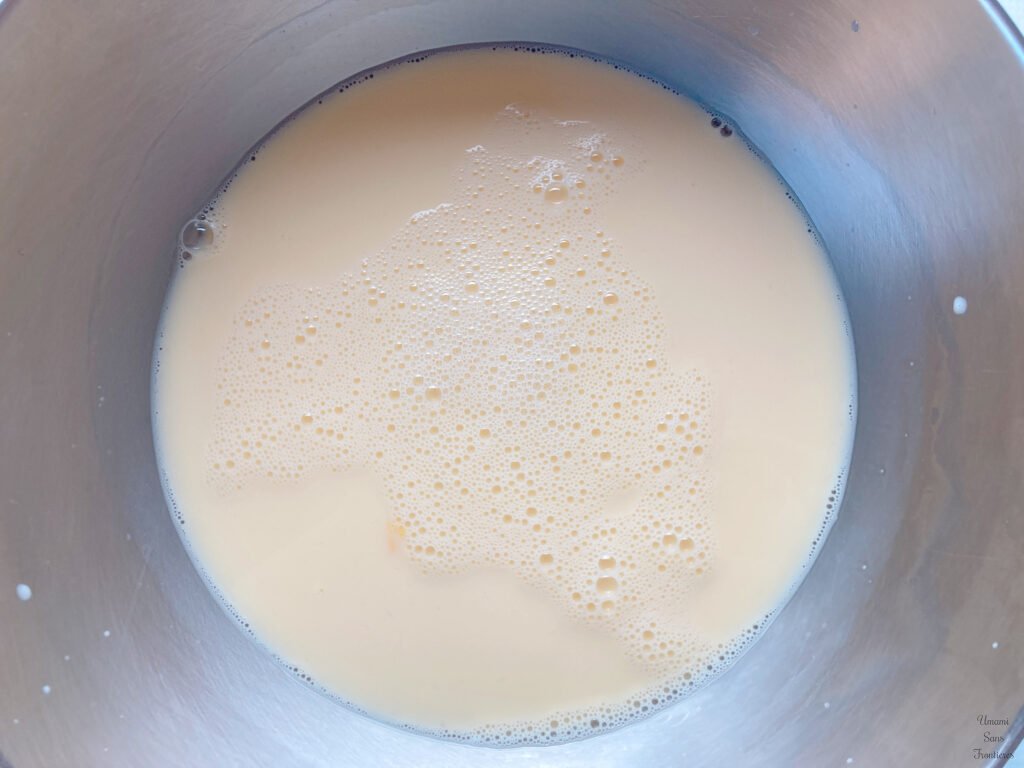
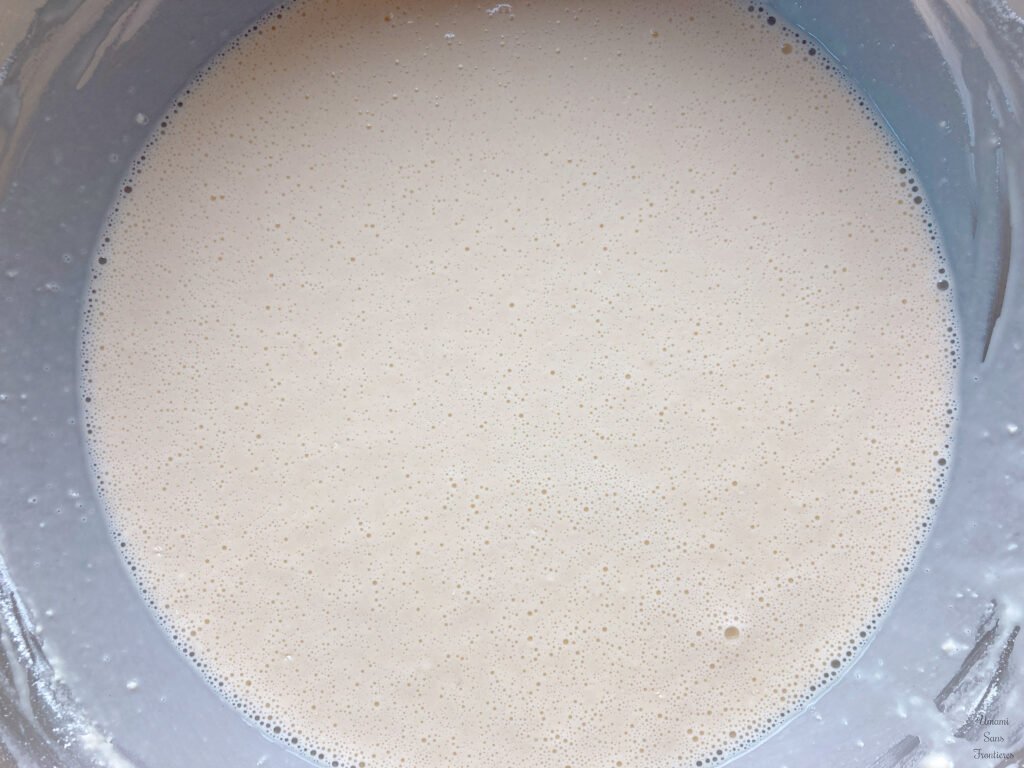
4/ Add the flour to make the batter: Sift the flour into another bowl, then gradually pour in the liquid mixture while whisking to avoid lumps. Mix until the batter becomes smooth and slightly thick.
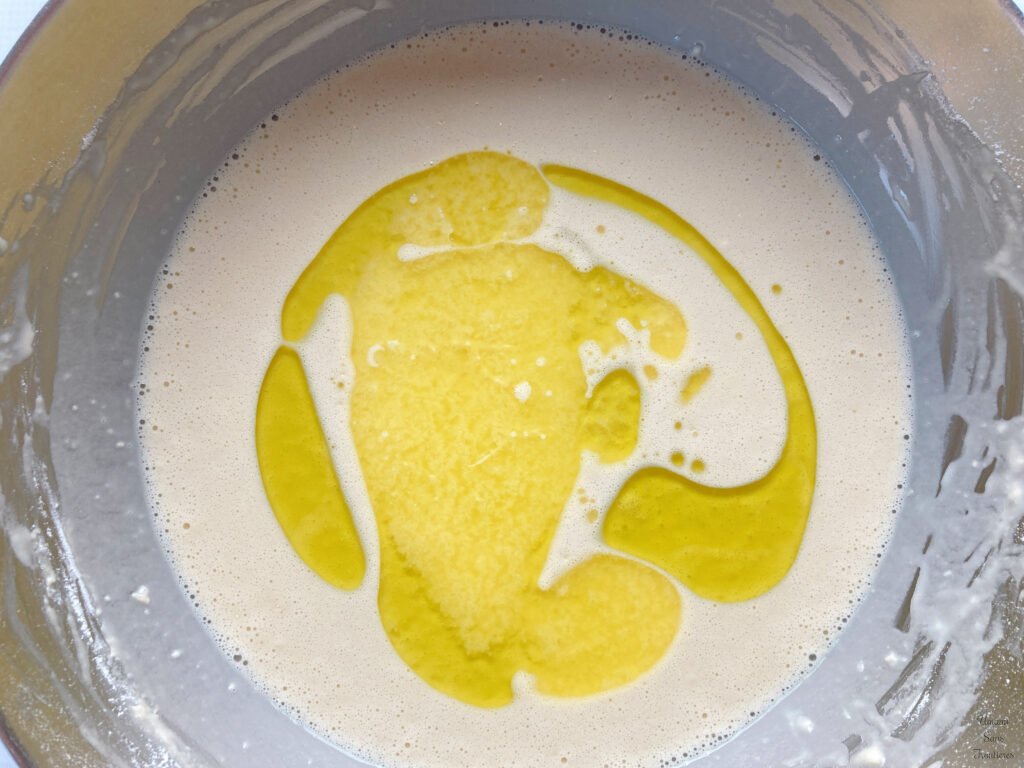
5/ Add the lemon juice (or yogurt) and melted butter: Add lemon juice (or yogurt) and melted butter, and mix well until fully combined.
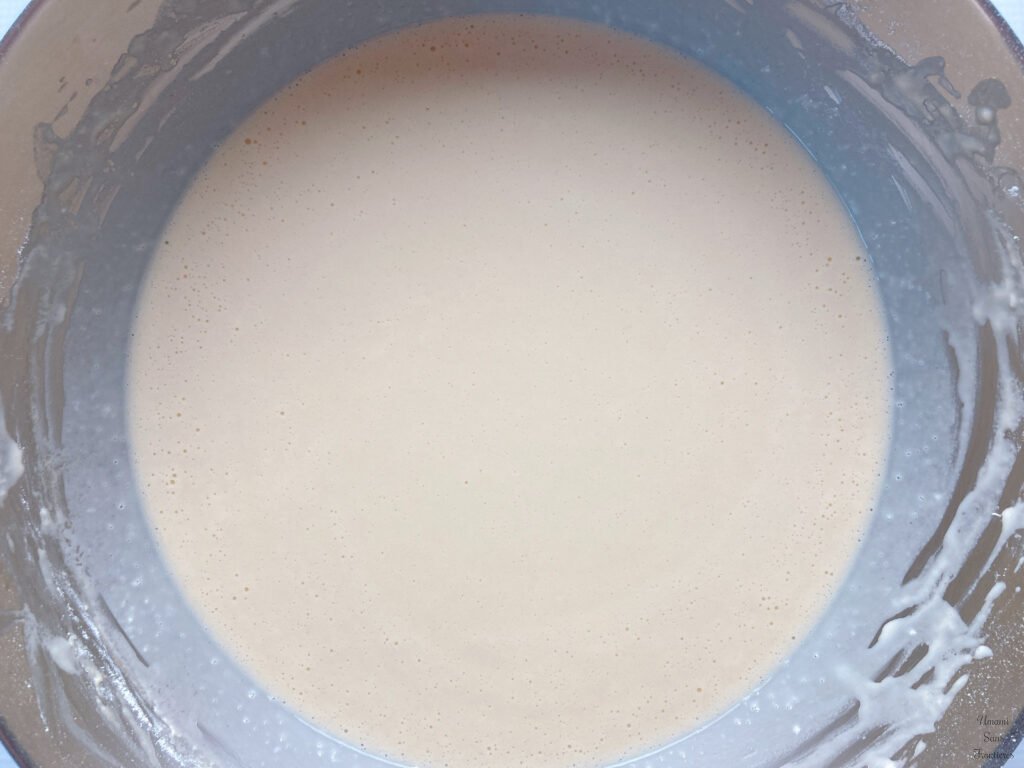
**Let the batter rest for extra fluffiness:
Allow the batter to rest at room temperature for 15–20 minutes before cooking.
This gives the flour time to absorb the liquid, resulting in softer and fluffier blini.
6/ Cook the blini: Lightly oil a frying pan and heat it over medium heat.Pour about ⅔ to 1 ladleful of batter into the pan and spread it out into a thin, round layer. When small bubbles appear on the surface, flip and cook the other side until golden brown. Stack the cooked blini on a plate and cover them loosely with plastic wrap.The trapped steam will keep them soft and moist, making them easy to fold without cracking.


🌟 Make Blini Your Own: My Family’s Favorite Tips 🌟
⭐️Classic Russian Style—with a Personal Touch : Serve your blini warm with sour cream and salmon roe (red caviar) for a truly authentic Russian combination.🇷🇺
The balance of salty and creamy flavors is simply irresistible! Add a sprinkle of fresh dill or chopped chives for color and aroma—it makes the plate come alive.
⭐️ How to Keep Blini Soft and Tender : After cooking, stack the blini one by one on a plate and cover them loosely with plastic wrap. The gentle steam trapped inside will keep them moist and pliable, so they won’t crack when folded.
Avoid sealing the wrap too tightly—this prevents condensation from forming and making them soggy.
If you’re using them later, reheat briefly in the microwave for 10–15 seconds to bring back their soft, chewy texture.
⭐️The Secret Behind the Fluffy & Bouncy Texture : That signature “soft yet springy” texture of blini comes from the trio of hot water, baking soda, and lemon juice (or yogurt). The hot water partially gelatinizes the flour, while the baking soda reacts with the acid to create tiny air bubbles.
Butter and oil add richness and moisture. The result? Thicker than crepes, lighter than pancakes—soft, bouncy, and melt-in-your-mouth delicious.✨
⭐️Enjoy Both Savory and Sweet Versions: In our family, we often switch things up halfway through—adding chocolate, honey, or jam for a sweet twist. The batter works beautifully for both savory and dessert-style blini!🍫
⭐️Portion and Serving Ideas: In Russia, blini are usually served as an appetizer, so you don’t need a huge batch.😅
But in our home, they often become a main meal when paired with a small salad, perfect for busy evenings. If you’re serving them as an appetizer, simply make half the recipe for just the right amount.
⭐️Time-Saving Tip ⏱️: When cooking a large batch, use two pans at once to save time.🍳🍳It helps prevent uneven browning and gets everyone to the table faster, ideal for busy weeknights or weekend brunch.
⭐️Next-Day Treat: Leftover blini make a wonderful breakfast the next morning!☀️Warm them up lightly and enjoy with butter, honey, maple syrup, or jam—whatever you love most.😋