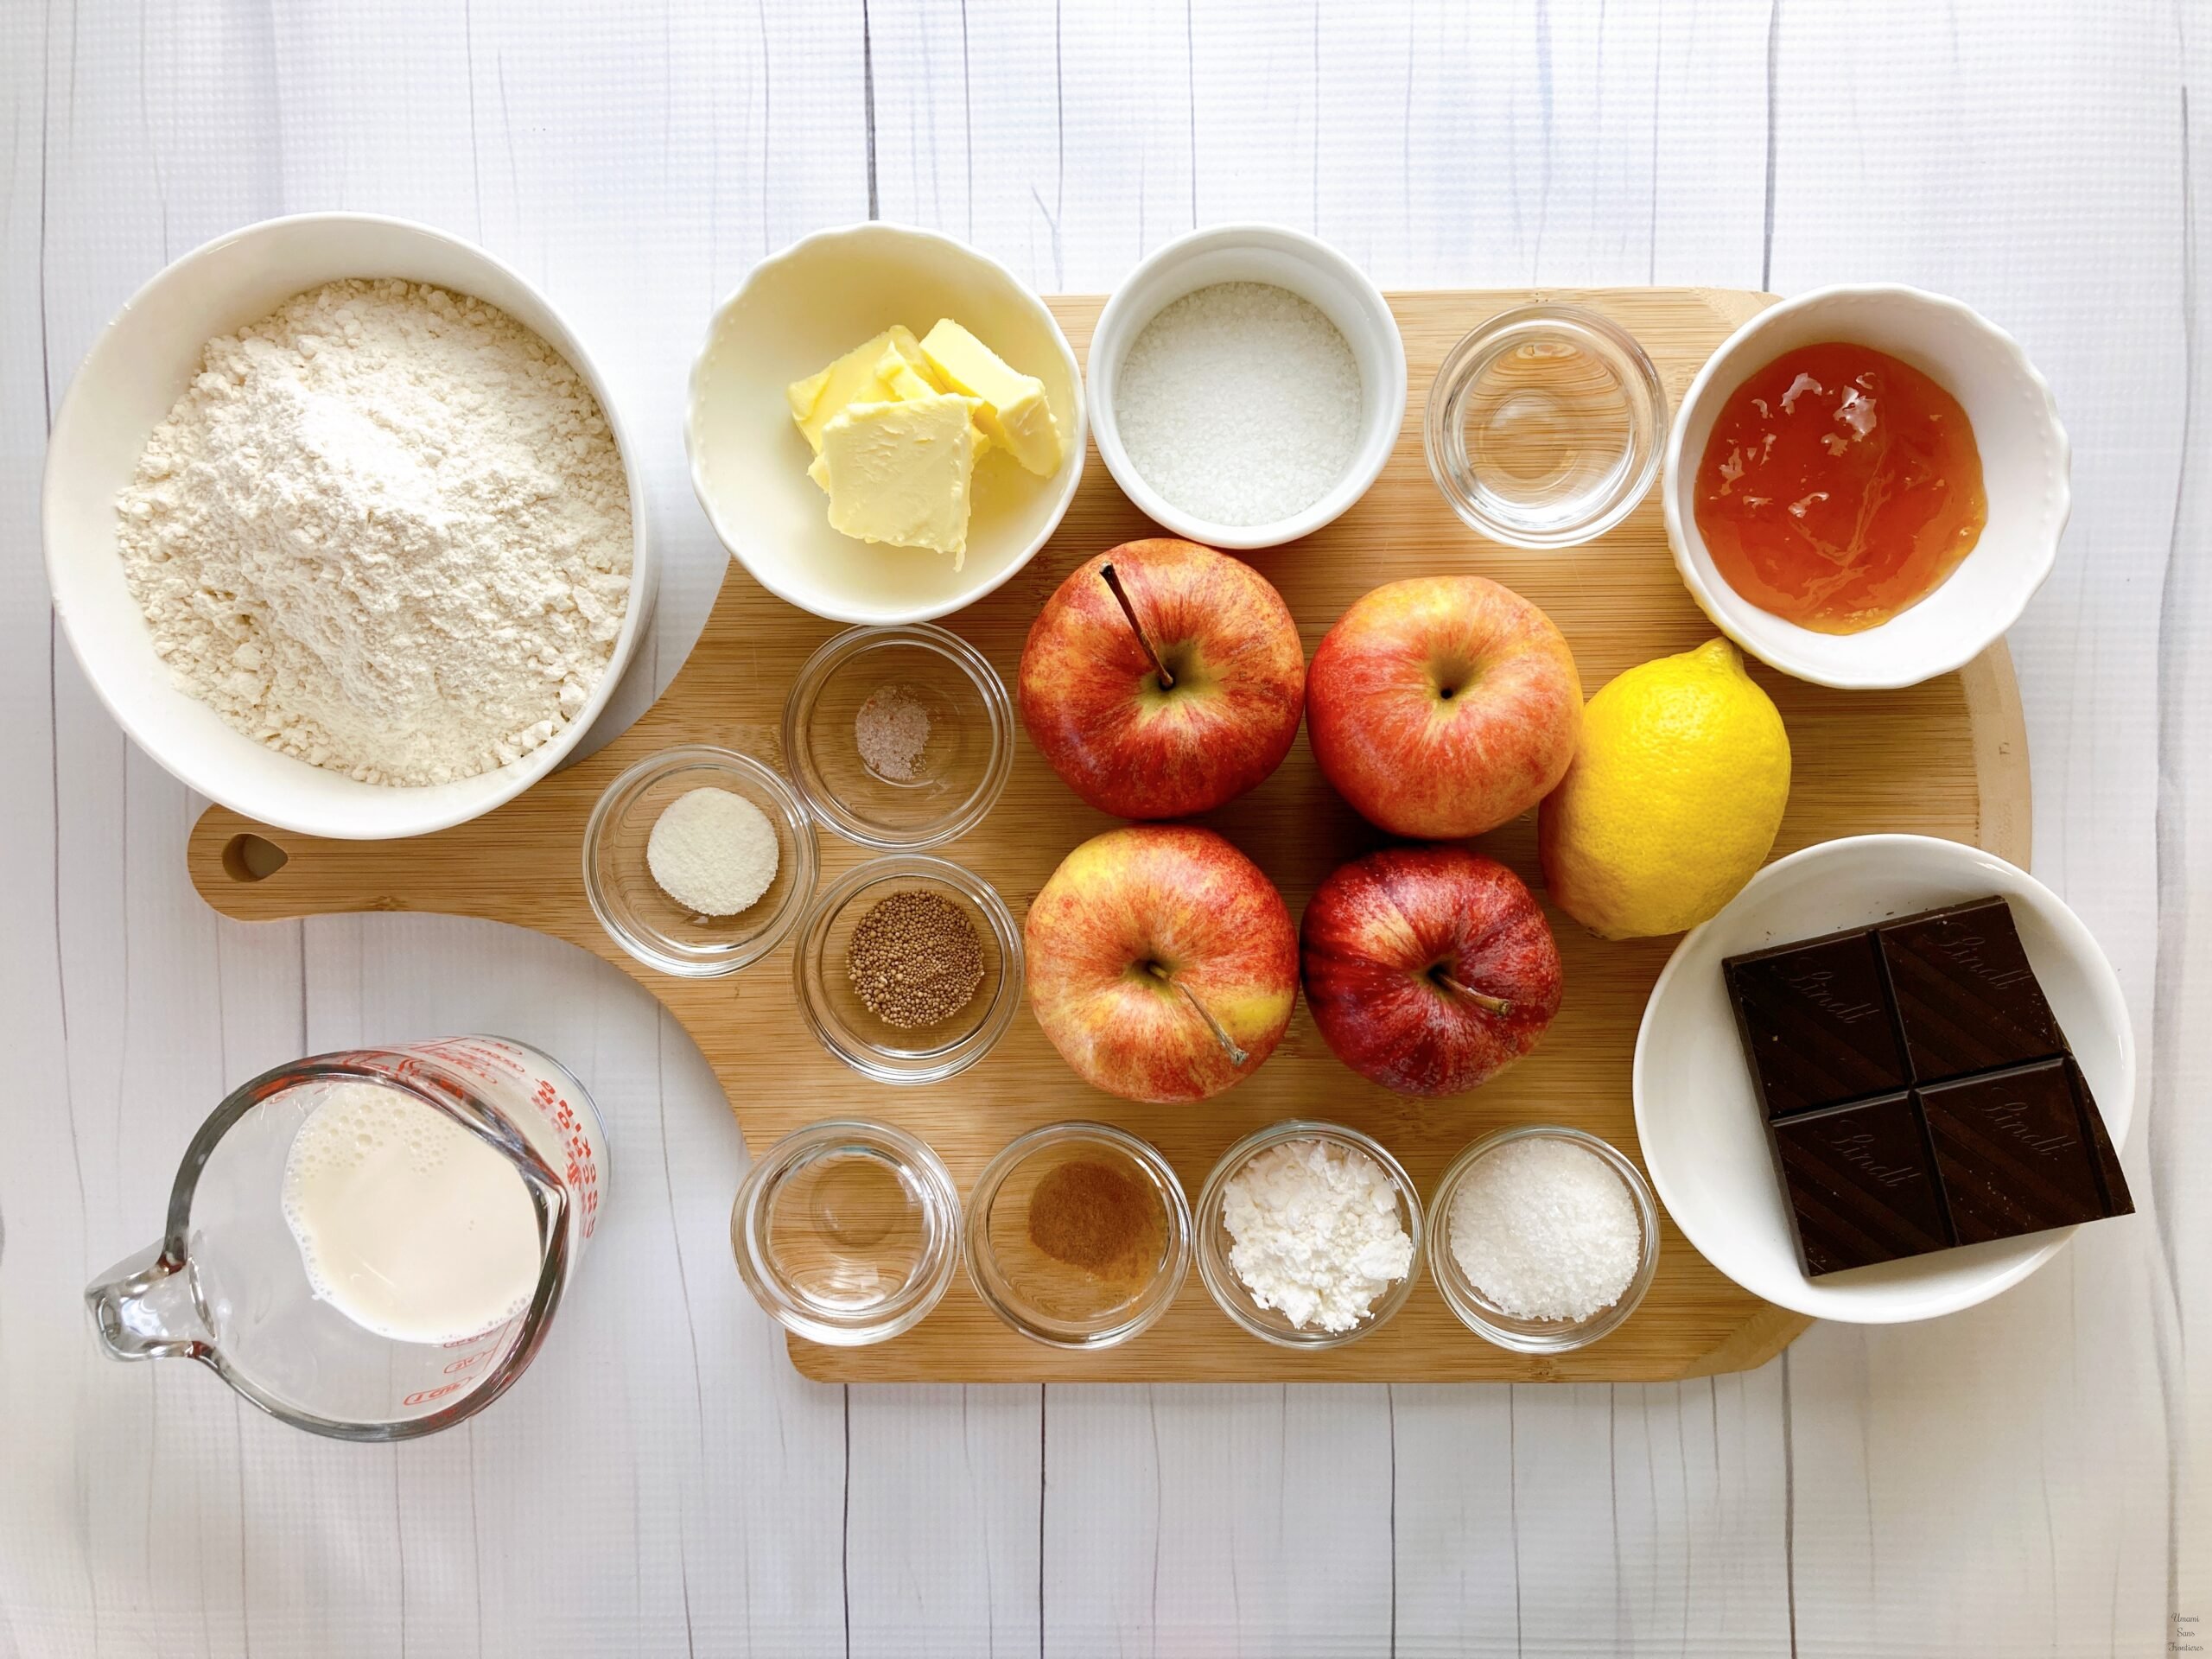
1/ Gently warm the milk and melt the butter in it. Let the mixture cool until lukewarm (about body temperature). *The butter can also be melted in the microwave.
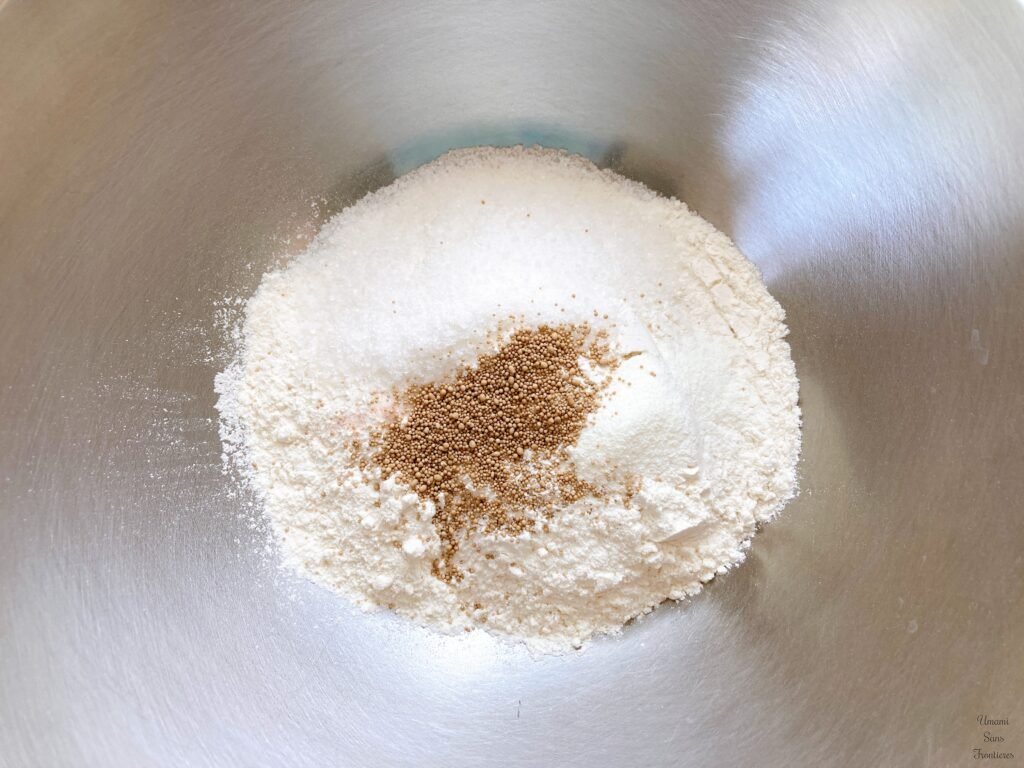
2/ In a large bowl, combine all the dry ingredients: flour, sugar, salt, vanilla sugar, and dry yeast.
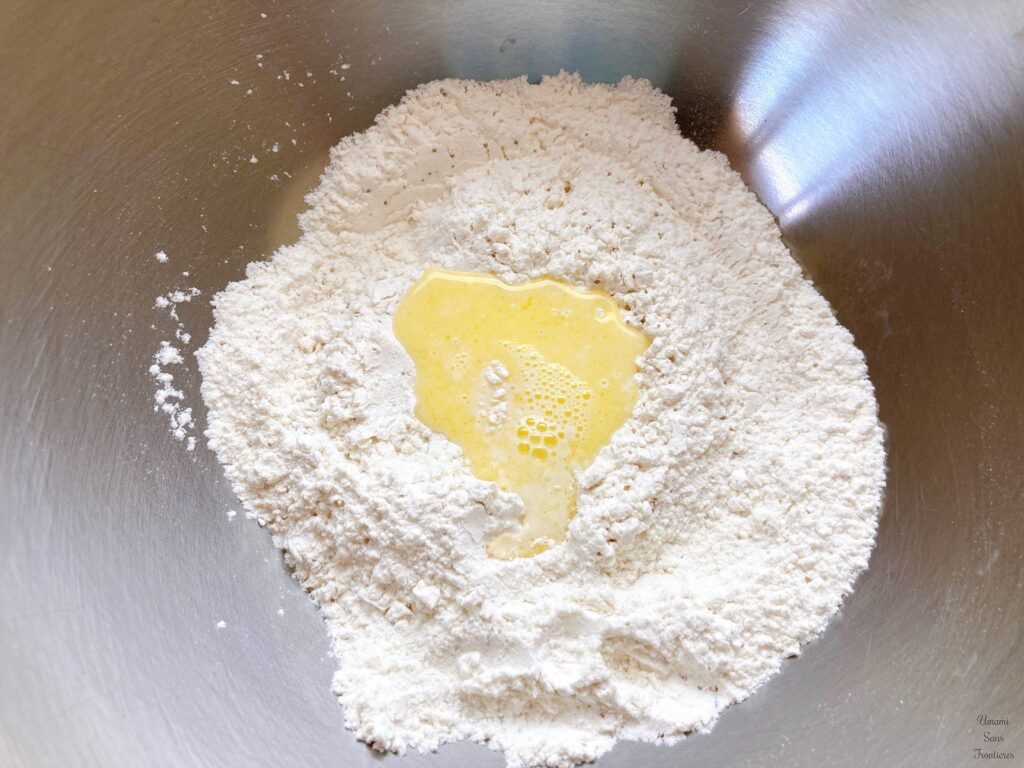
3/ Gradually add the milk and butter mixture while mixing by hand. Add about half first and mix roughly, then add the rest and continue mixing.
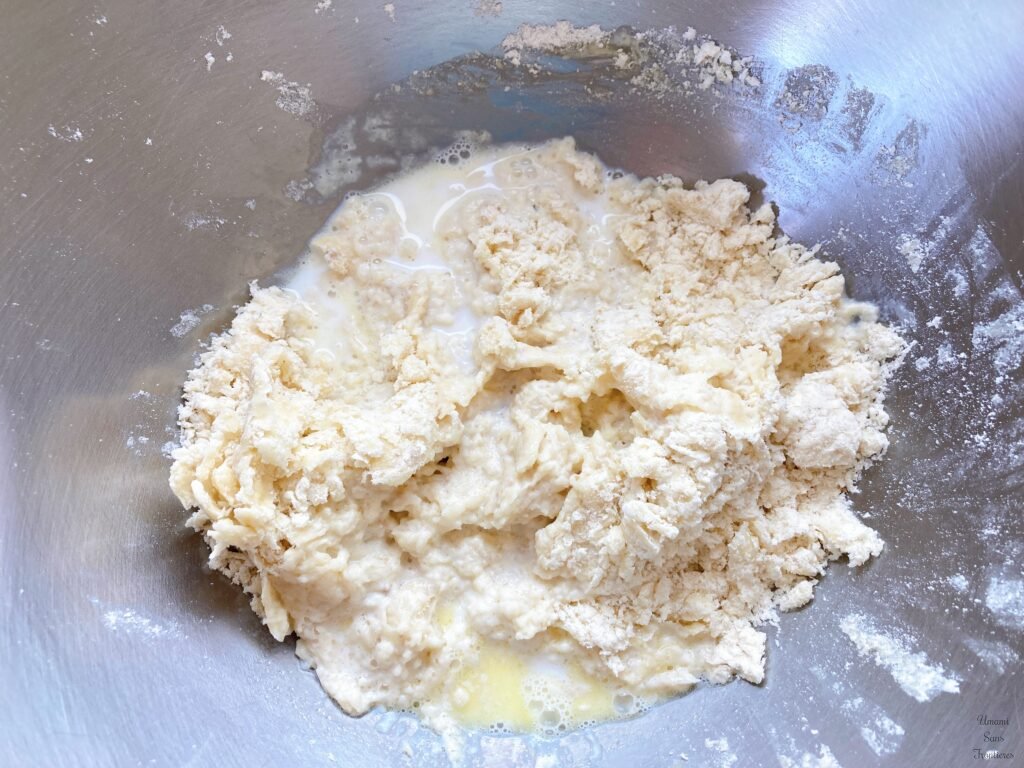
4/ Bring the dough together in the bowl using your hands or a wooden spatula until no dry flour remains. The dough can still be sticky at this stage.
5/ Cover and let the dough rest for 10 minutes.
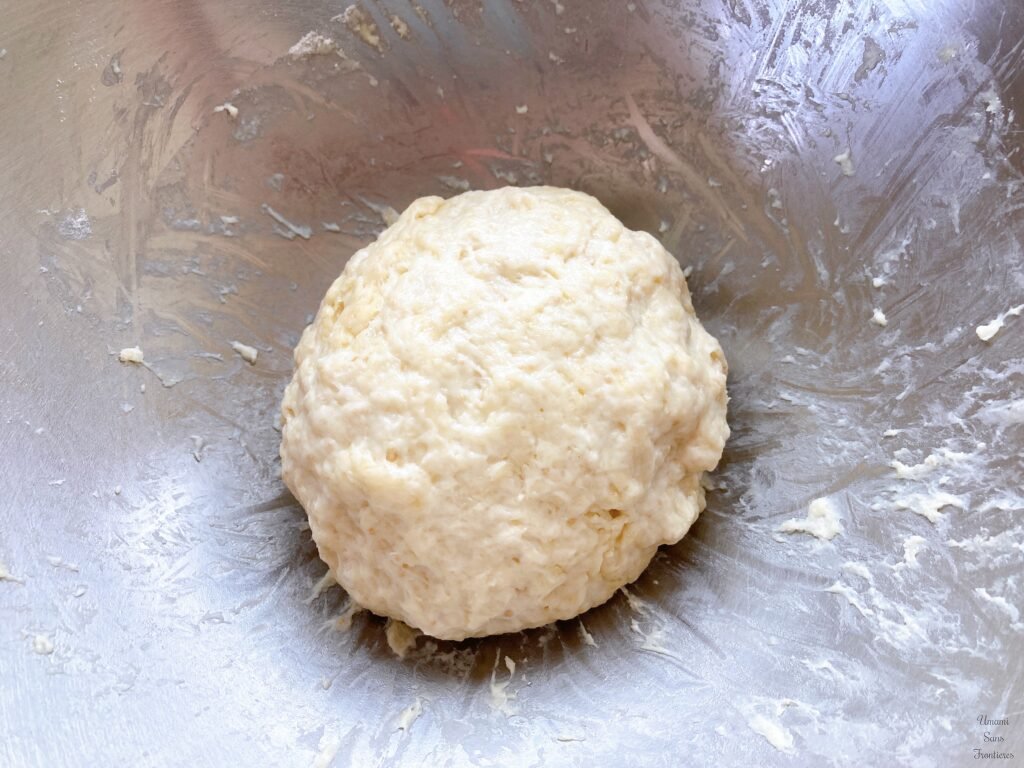
6/ Transfer the dough to a work surface and knead for 7–8 minutes. Using the palm of your hand, repeat pressing, folding, and turning. Knead until the dough becomes soft and elastic, similar to an earlobe. It does not need to be perfectly smooth.
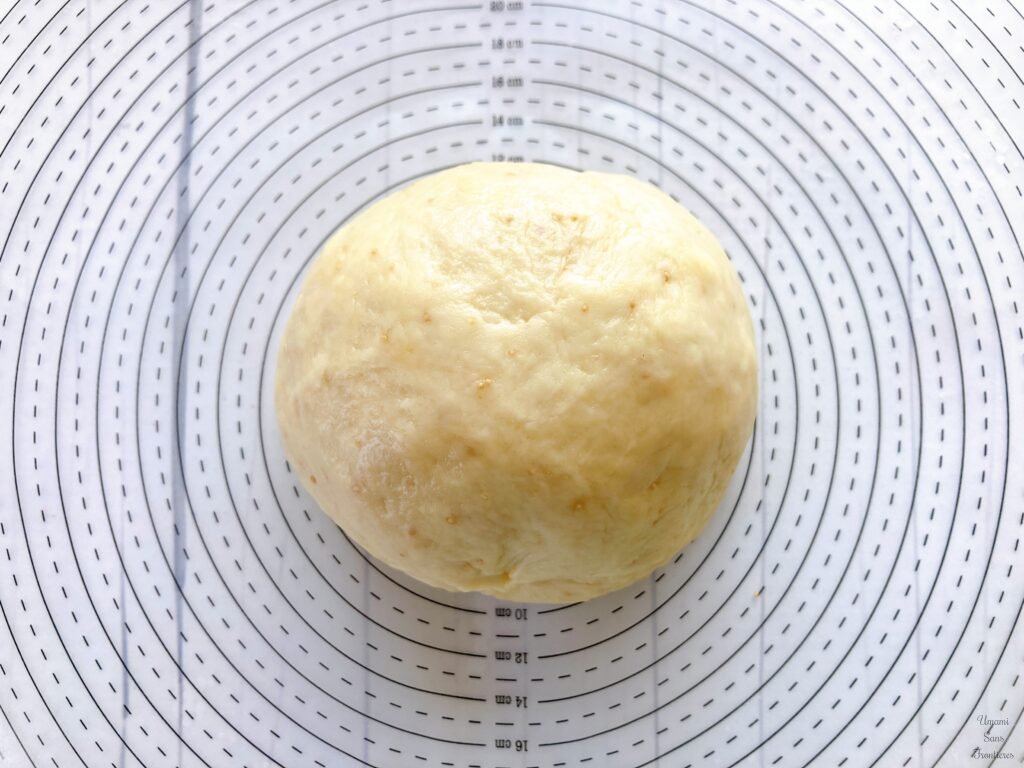 7/ Place the dough back in the bowl, cover with plastic wrap or a clean cloth, and let rise for 50–60 minutes, until roughly doubled in size.
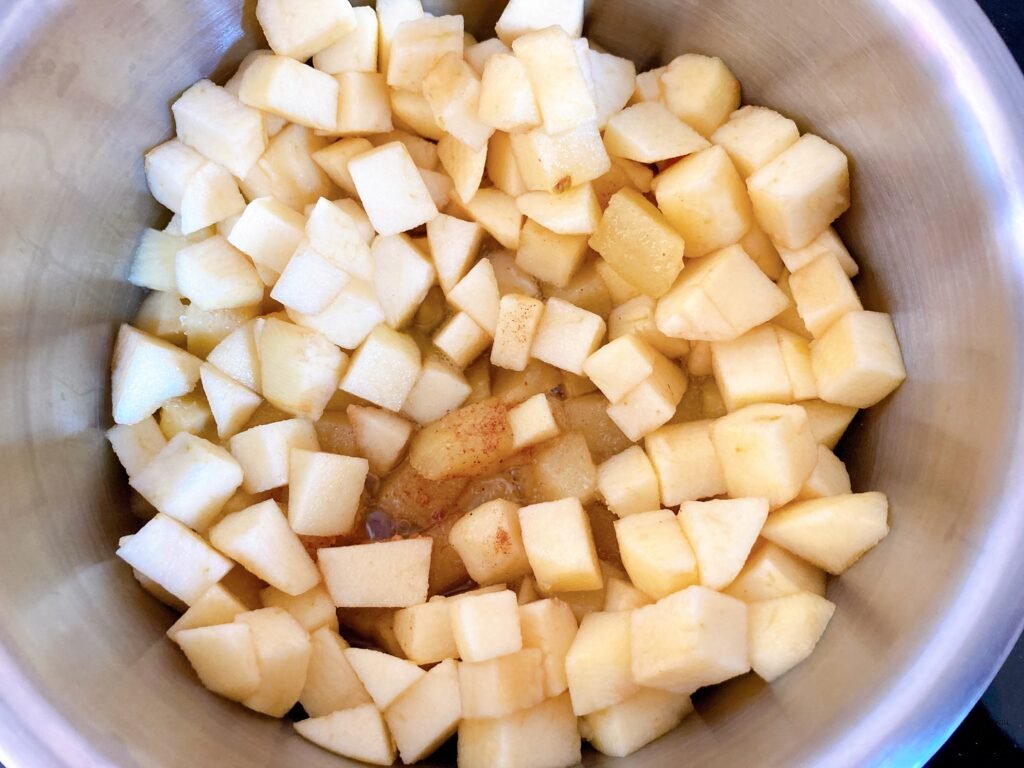
1/ While the dough is rising, cut the apples into 1 cm cubes. Place half of the apples (about 225 g) into a saucepan with the water. Cover and cook over low heat for 10–15 minutes.
2/ Add the sugar and cinnamon, then add the remaining apples. Cover and cook for another 5–8 minutes.
3/ Add the cornstarch, stir well, and cook for about 1 minute until the mixture thickens and the moisture comes together.
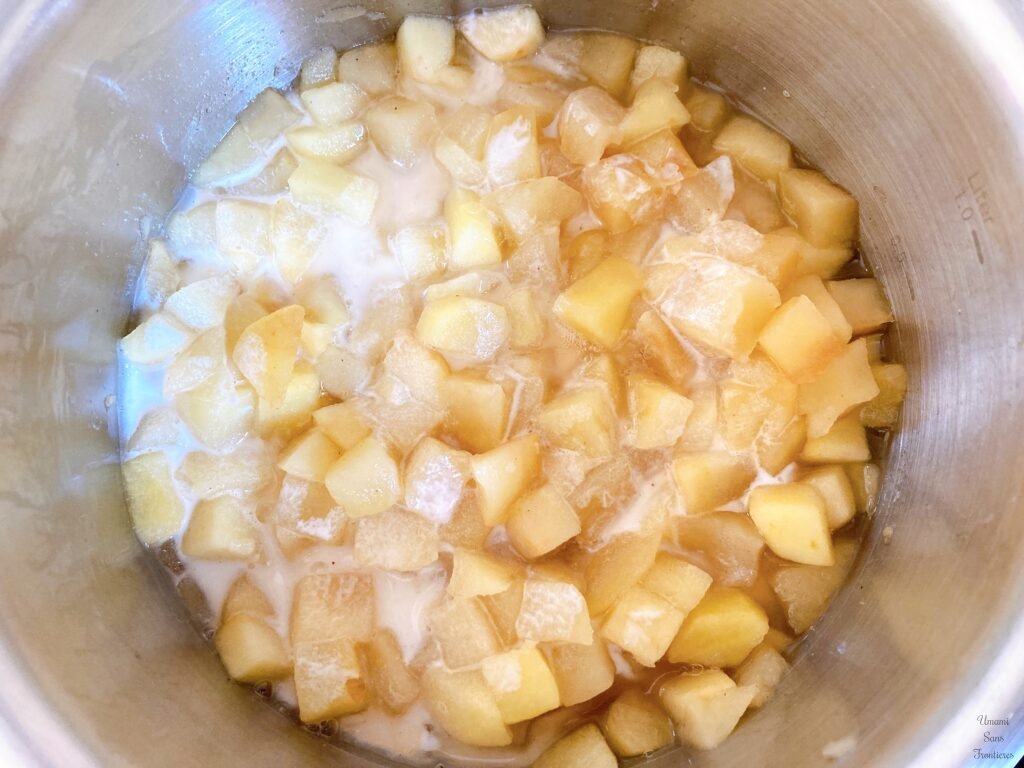
4/ Remove from heat and let the apple filling cool.
1/ Line a 20 cm (8-inch) round pan with parchment paper, or grease it with butter.
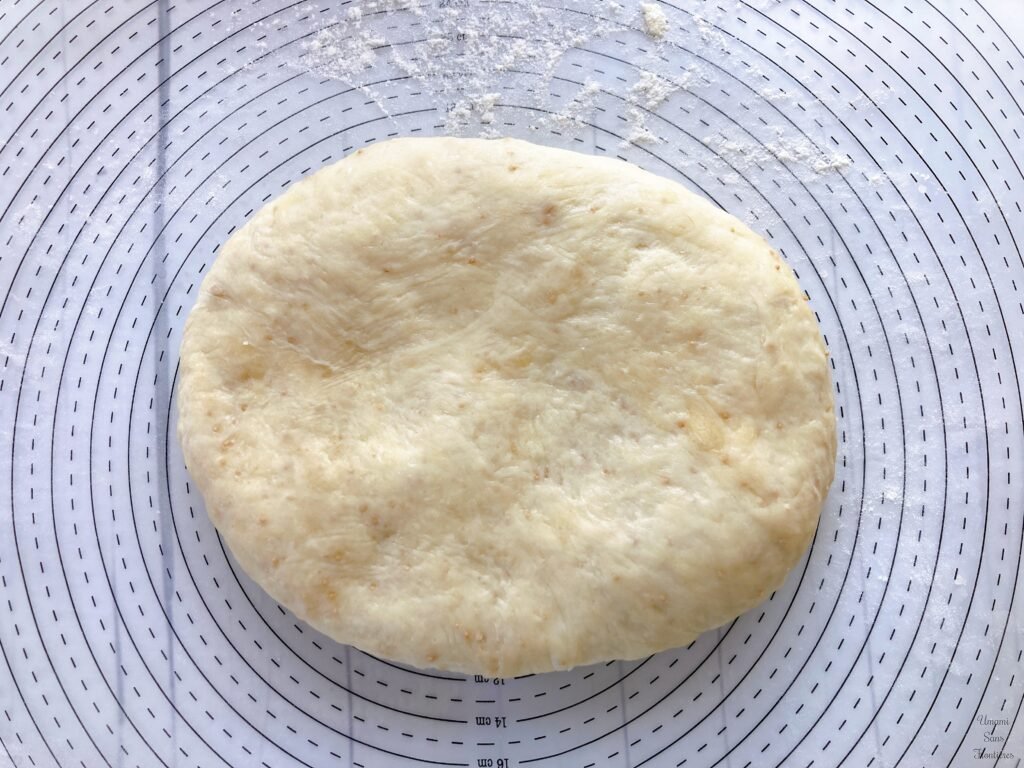
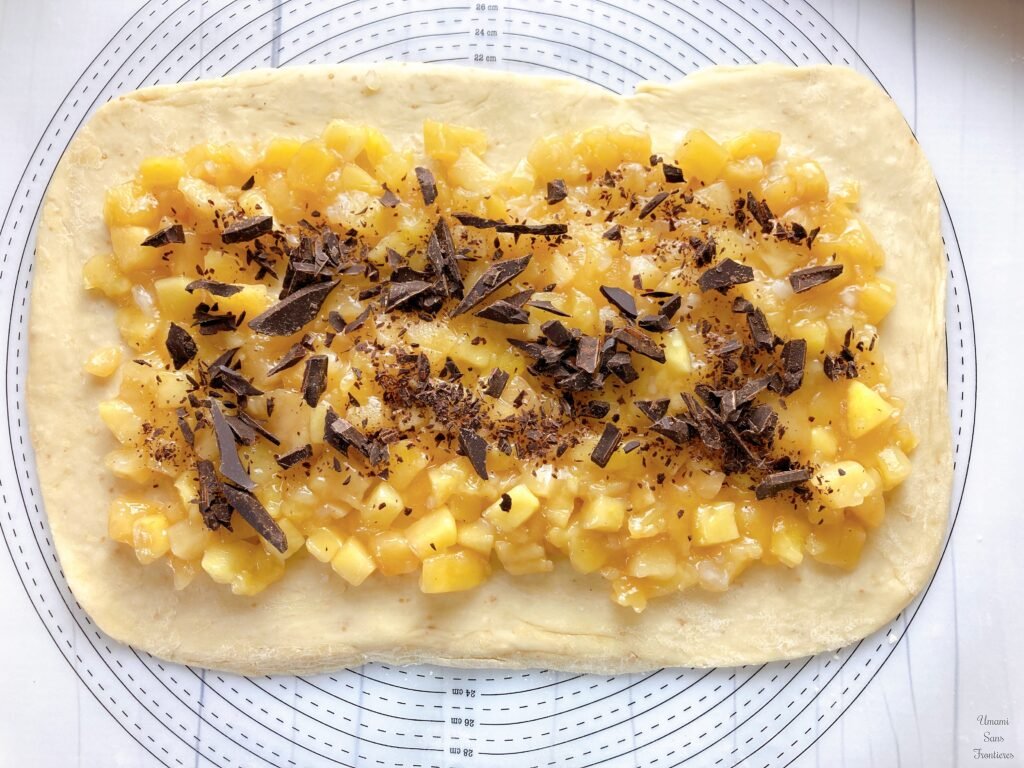
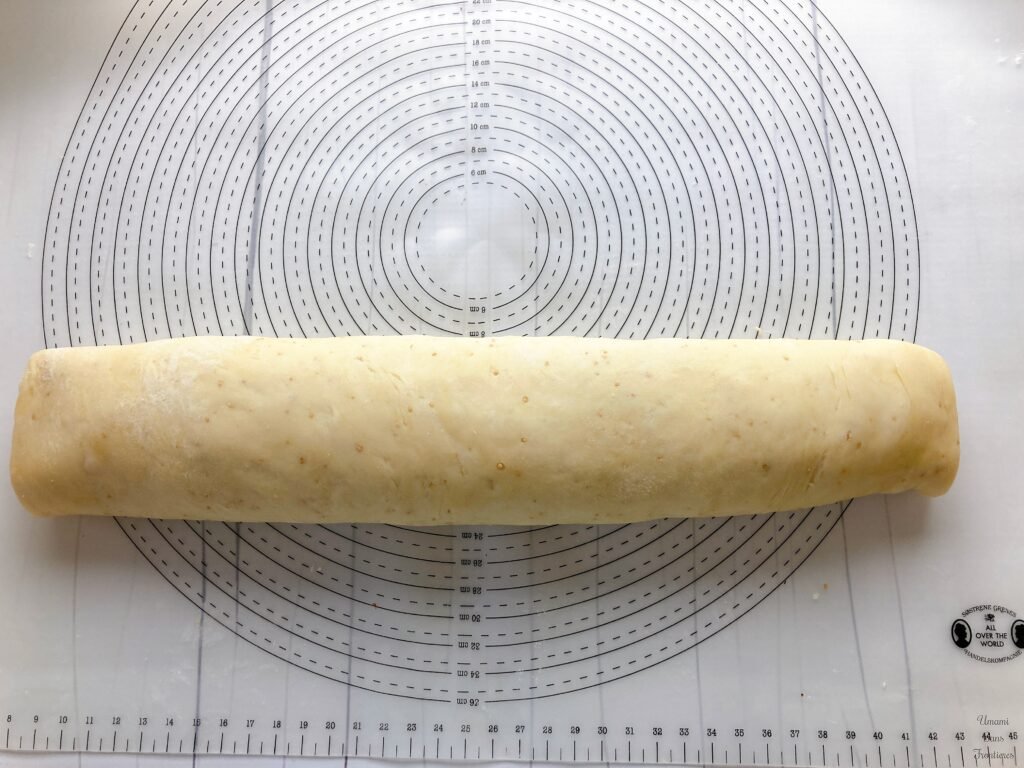
2/ After the first rise, roll out the dough on a floured surface into a rectangle about 30 cm × 20 cm, with a thickness of 3–4 mm.

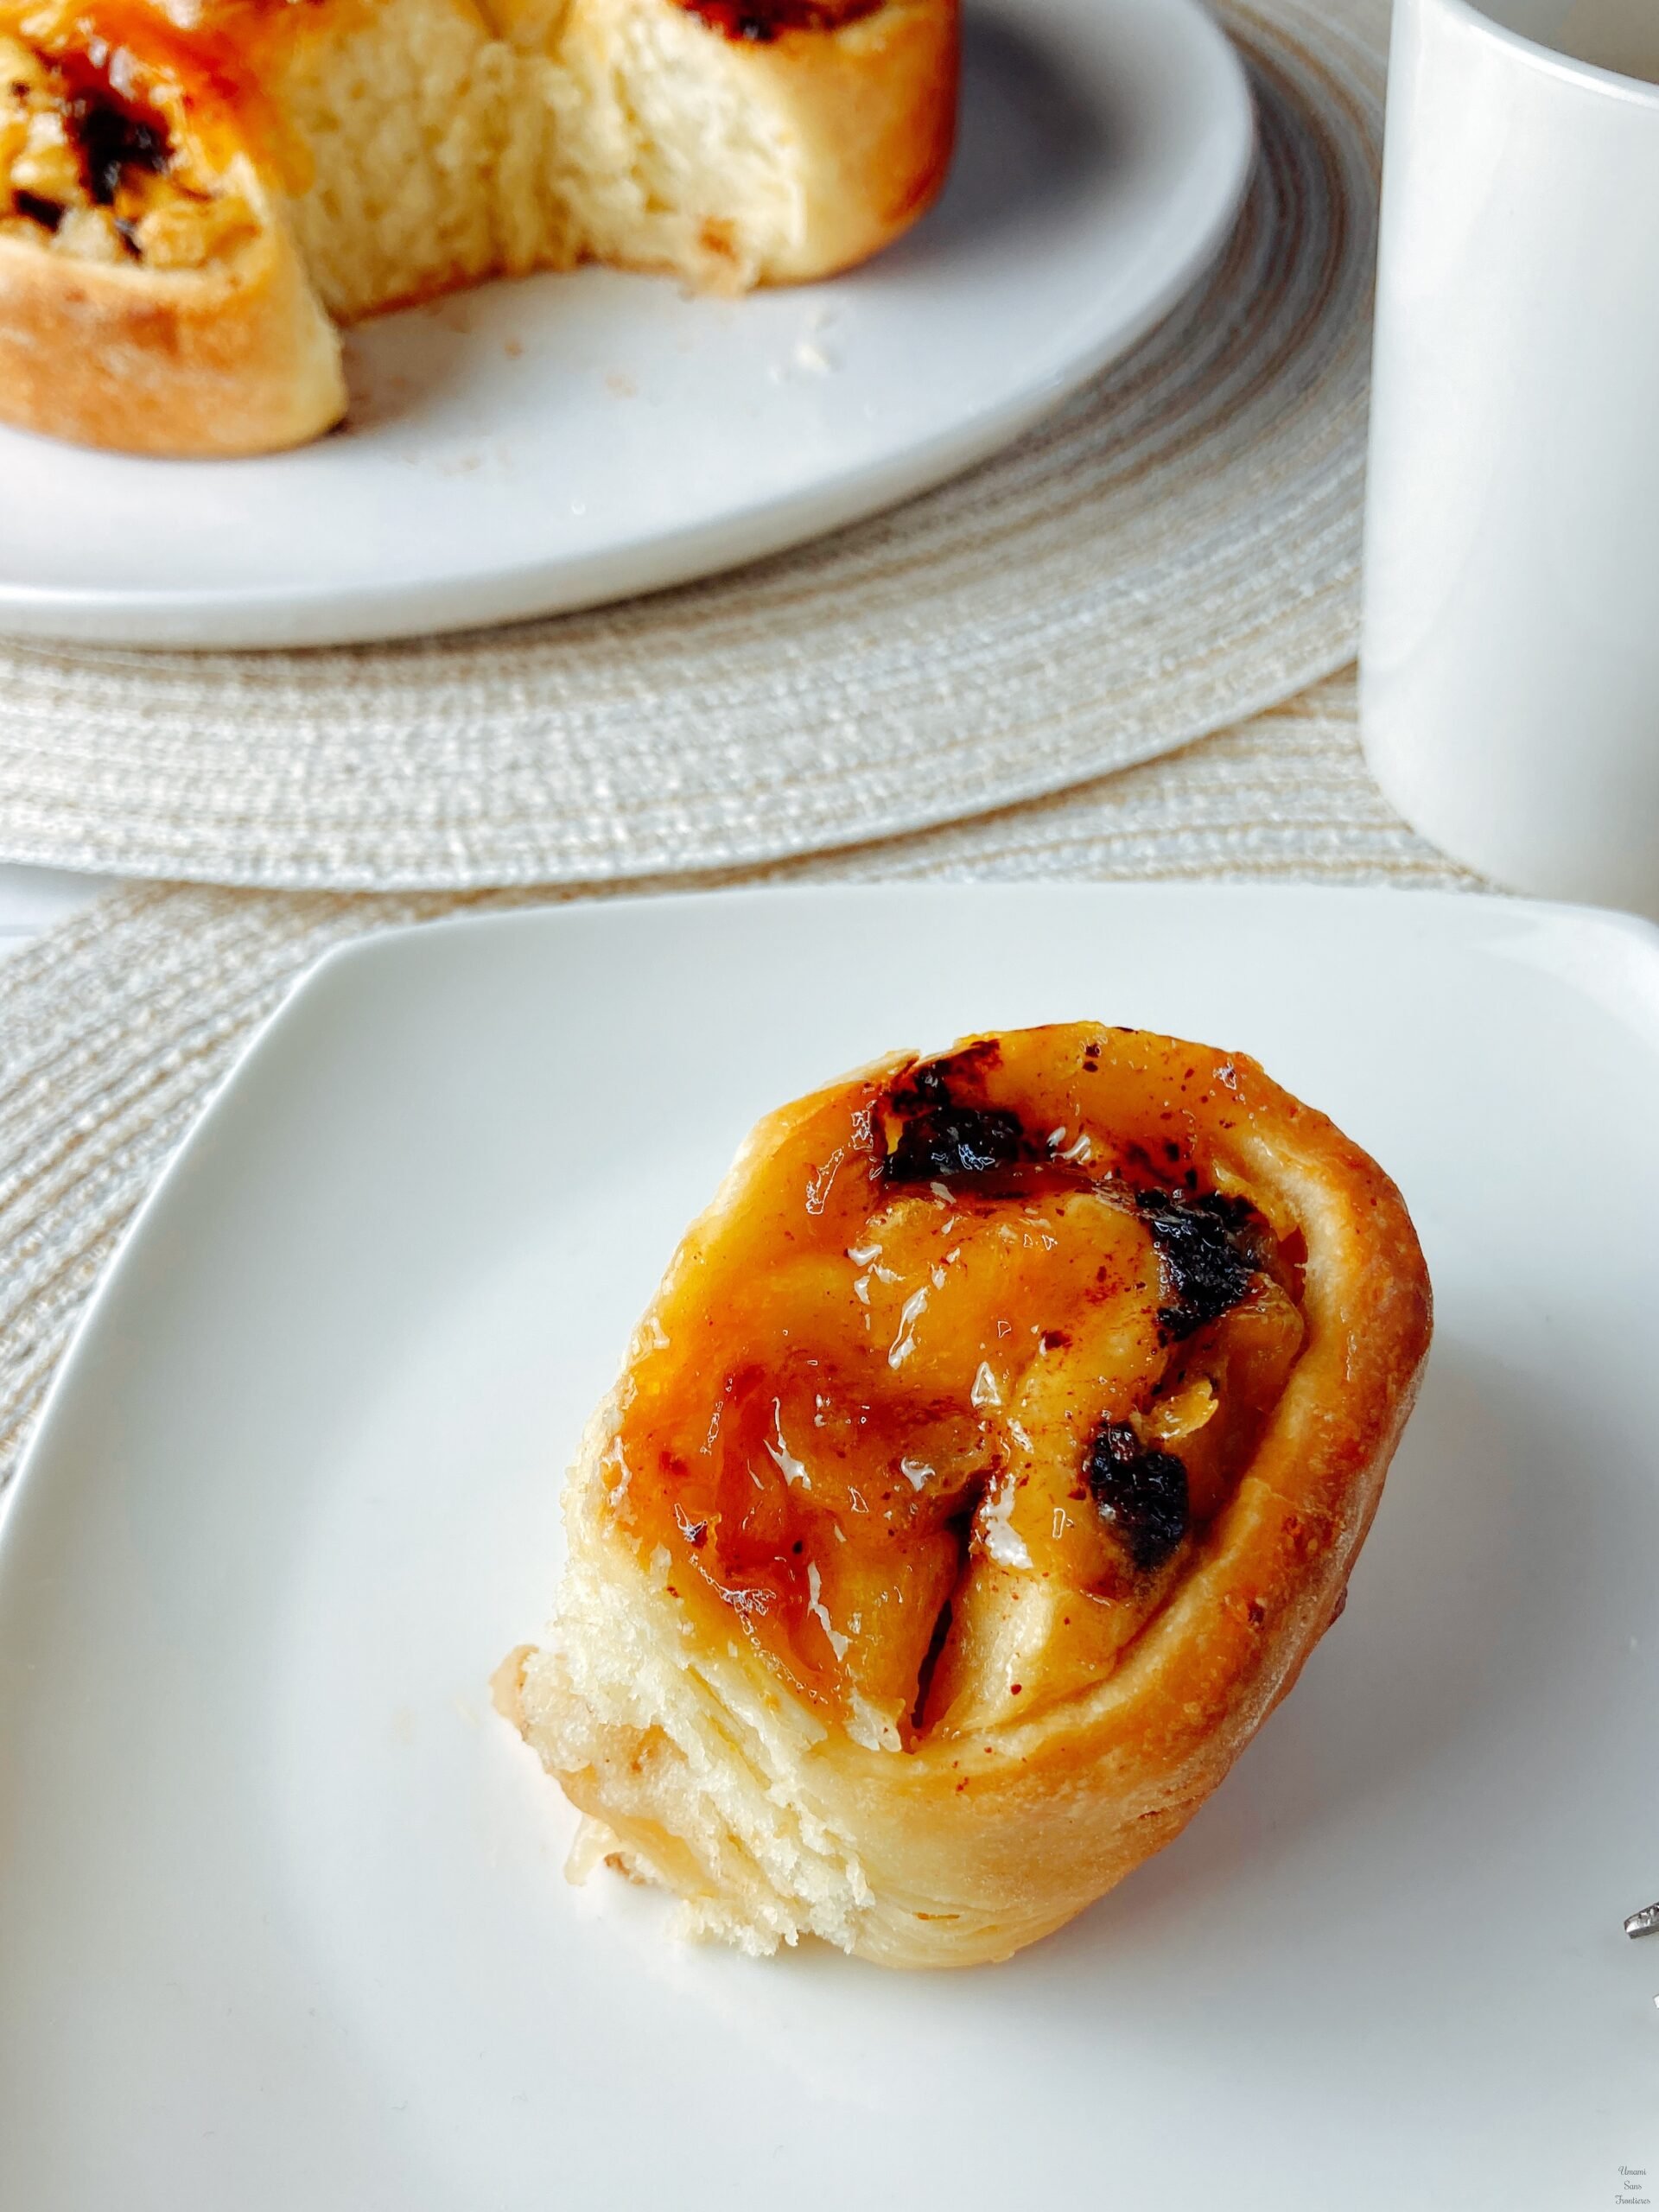
3/ Spread the apple filling evenly over the dough and sprinkle with the chopped chocolate.
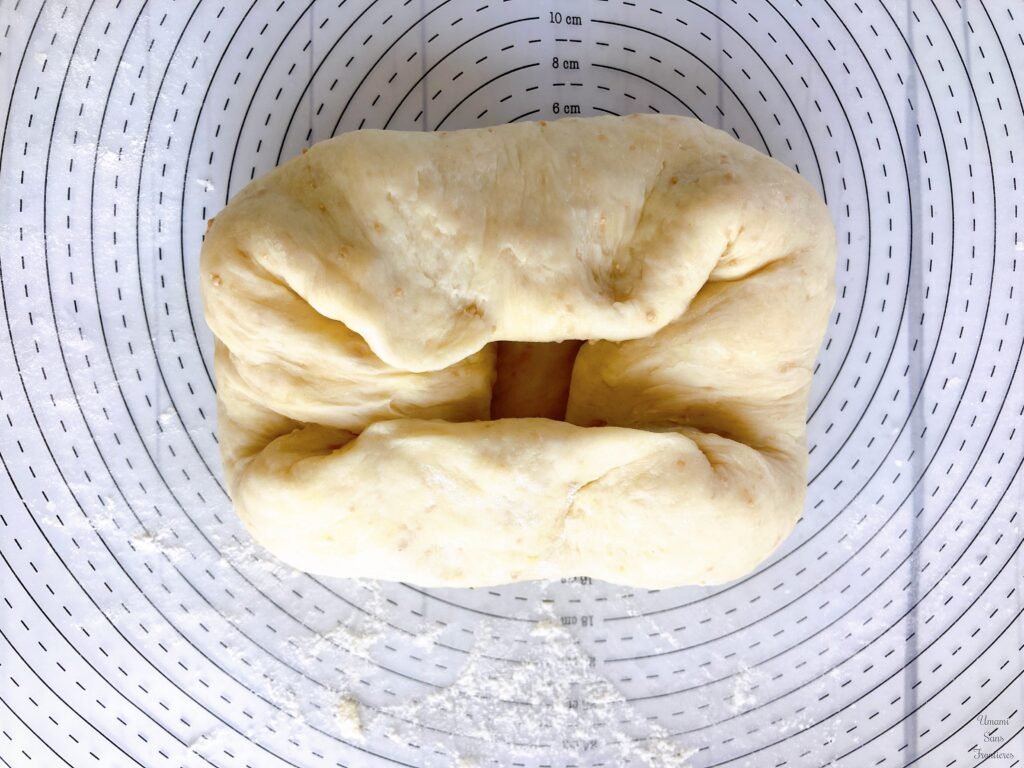
1/ Roll the dough up tightly.
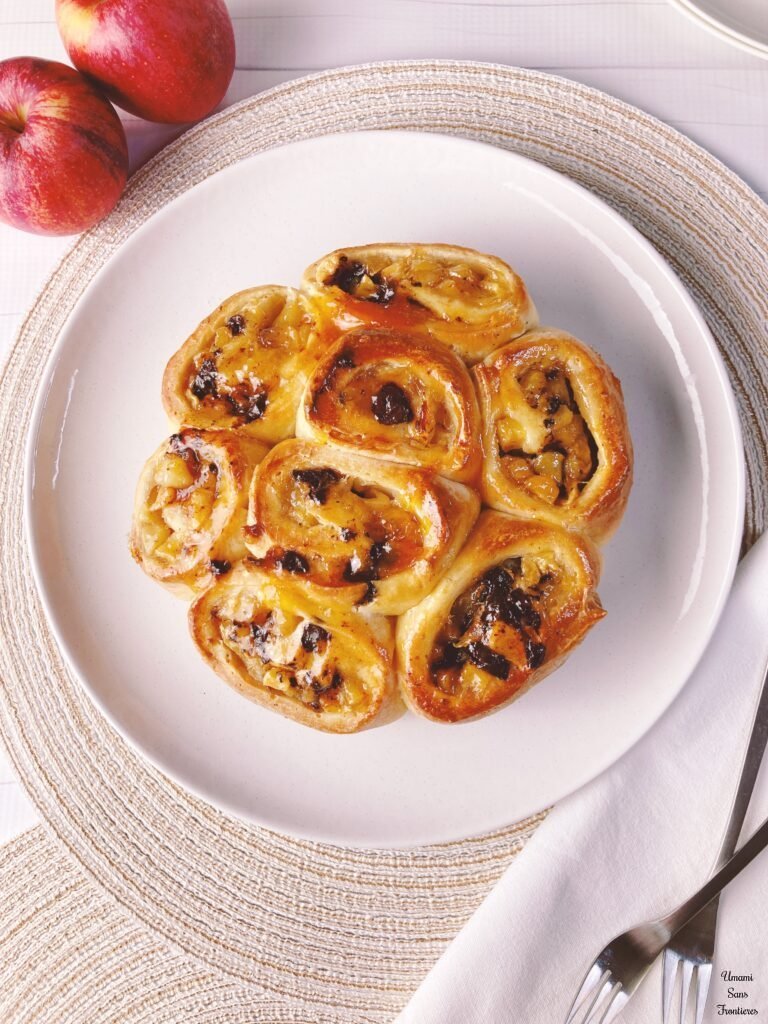
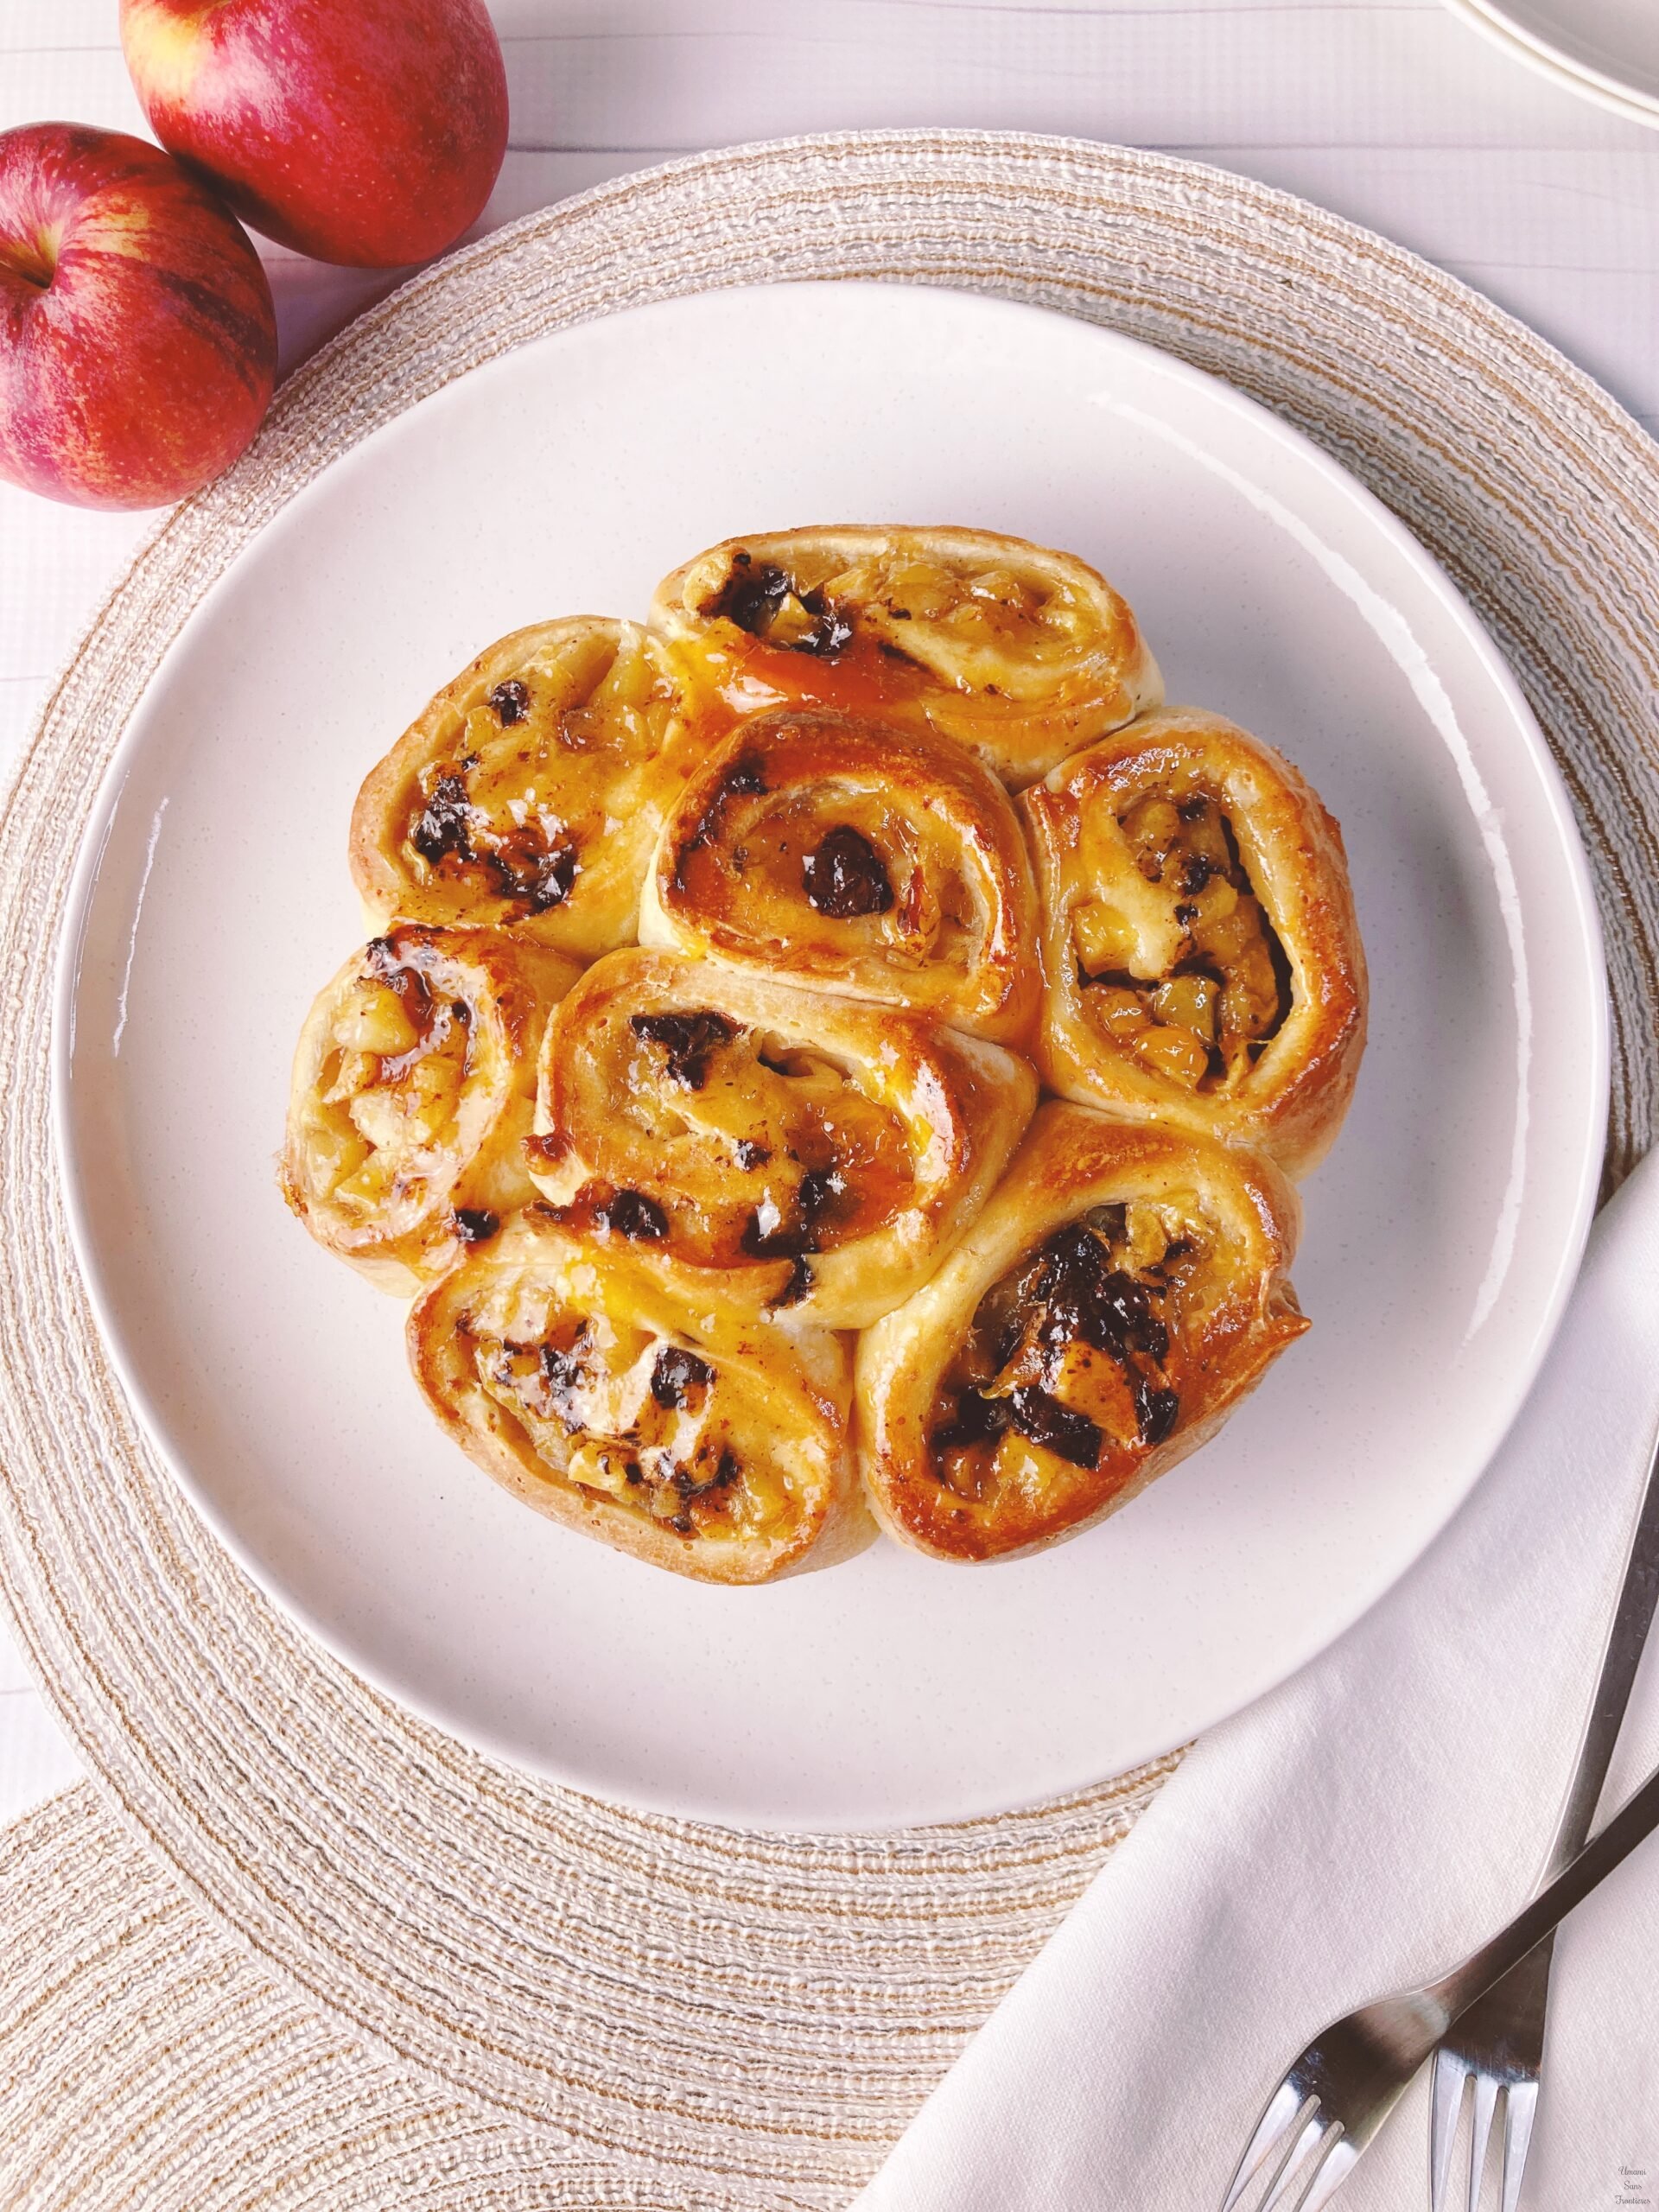
2/ Cut into 7–8 equal pieces.
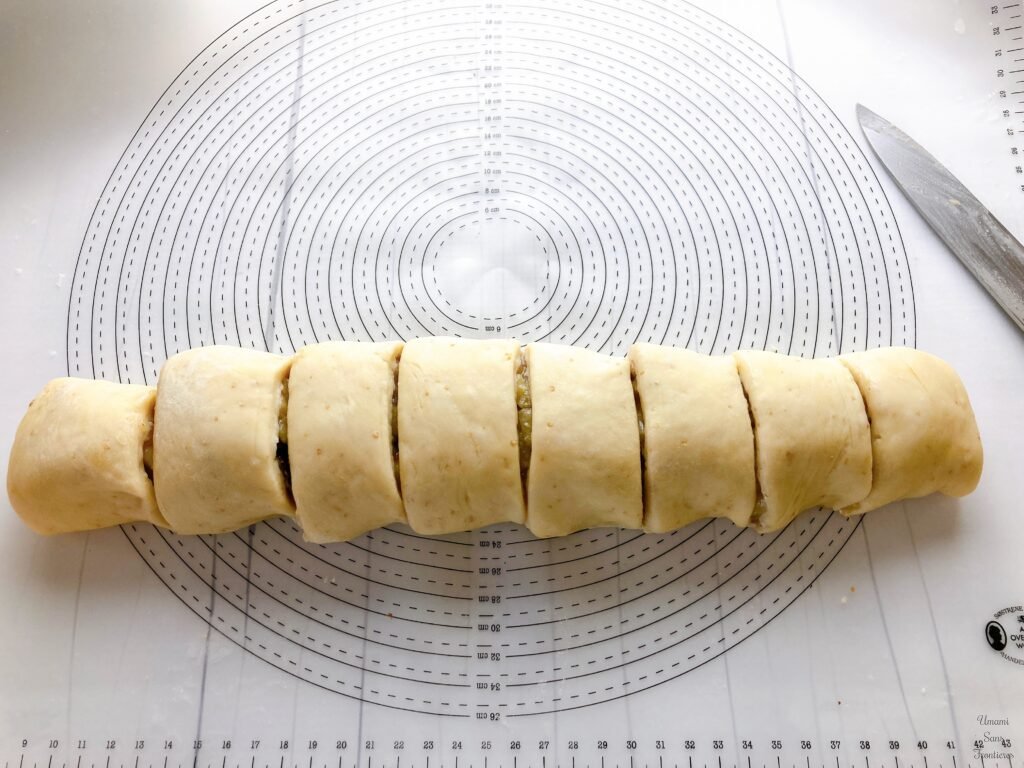
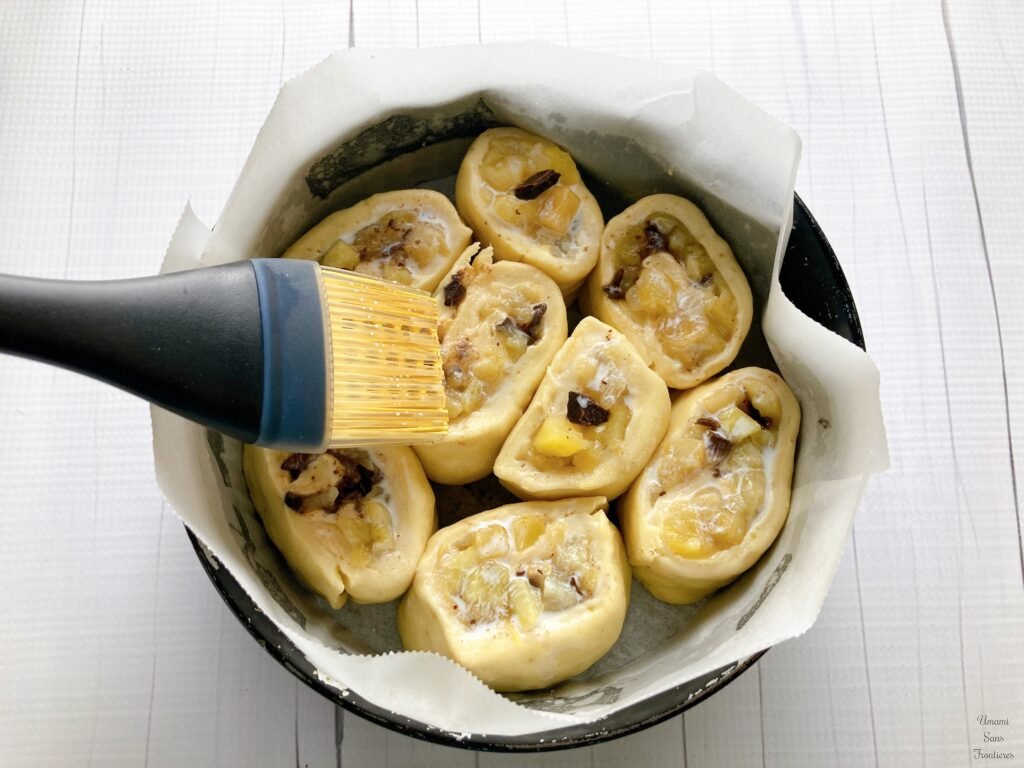
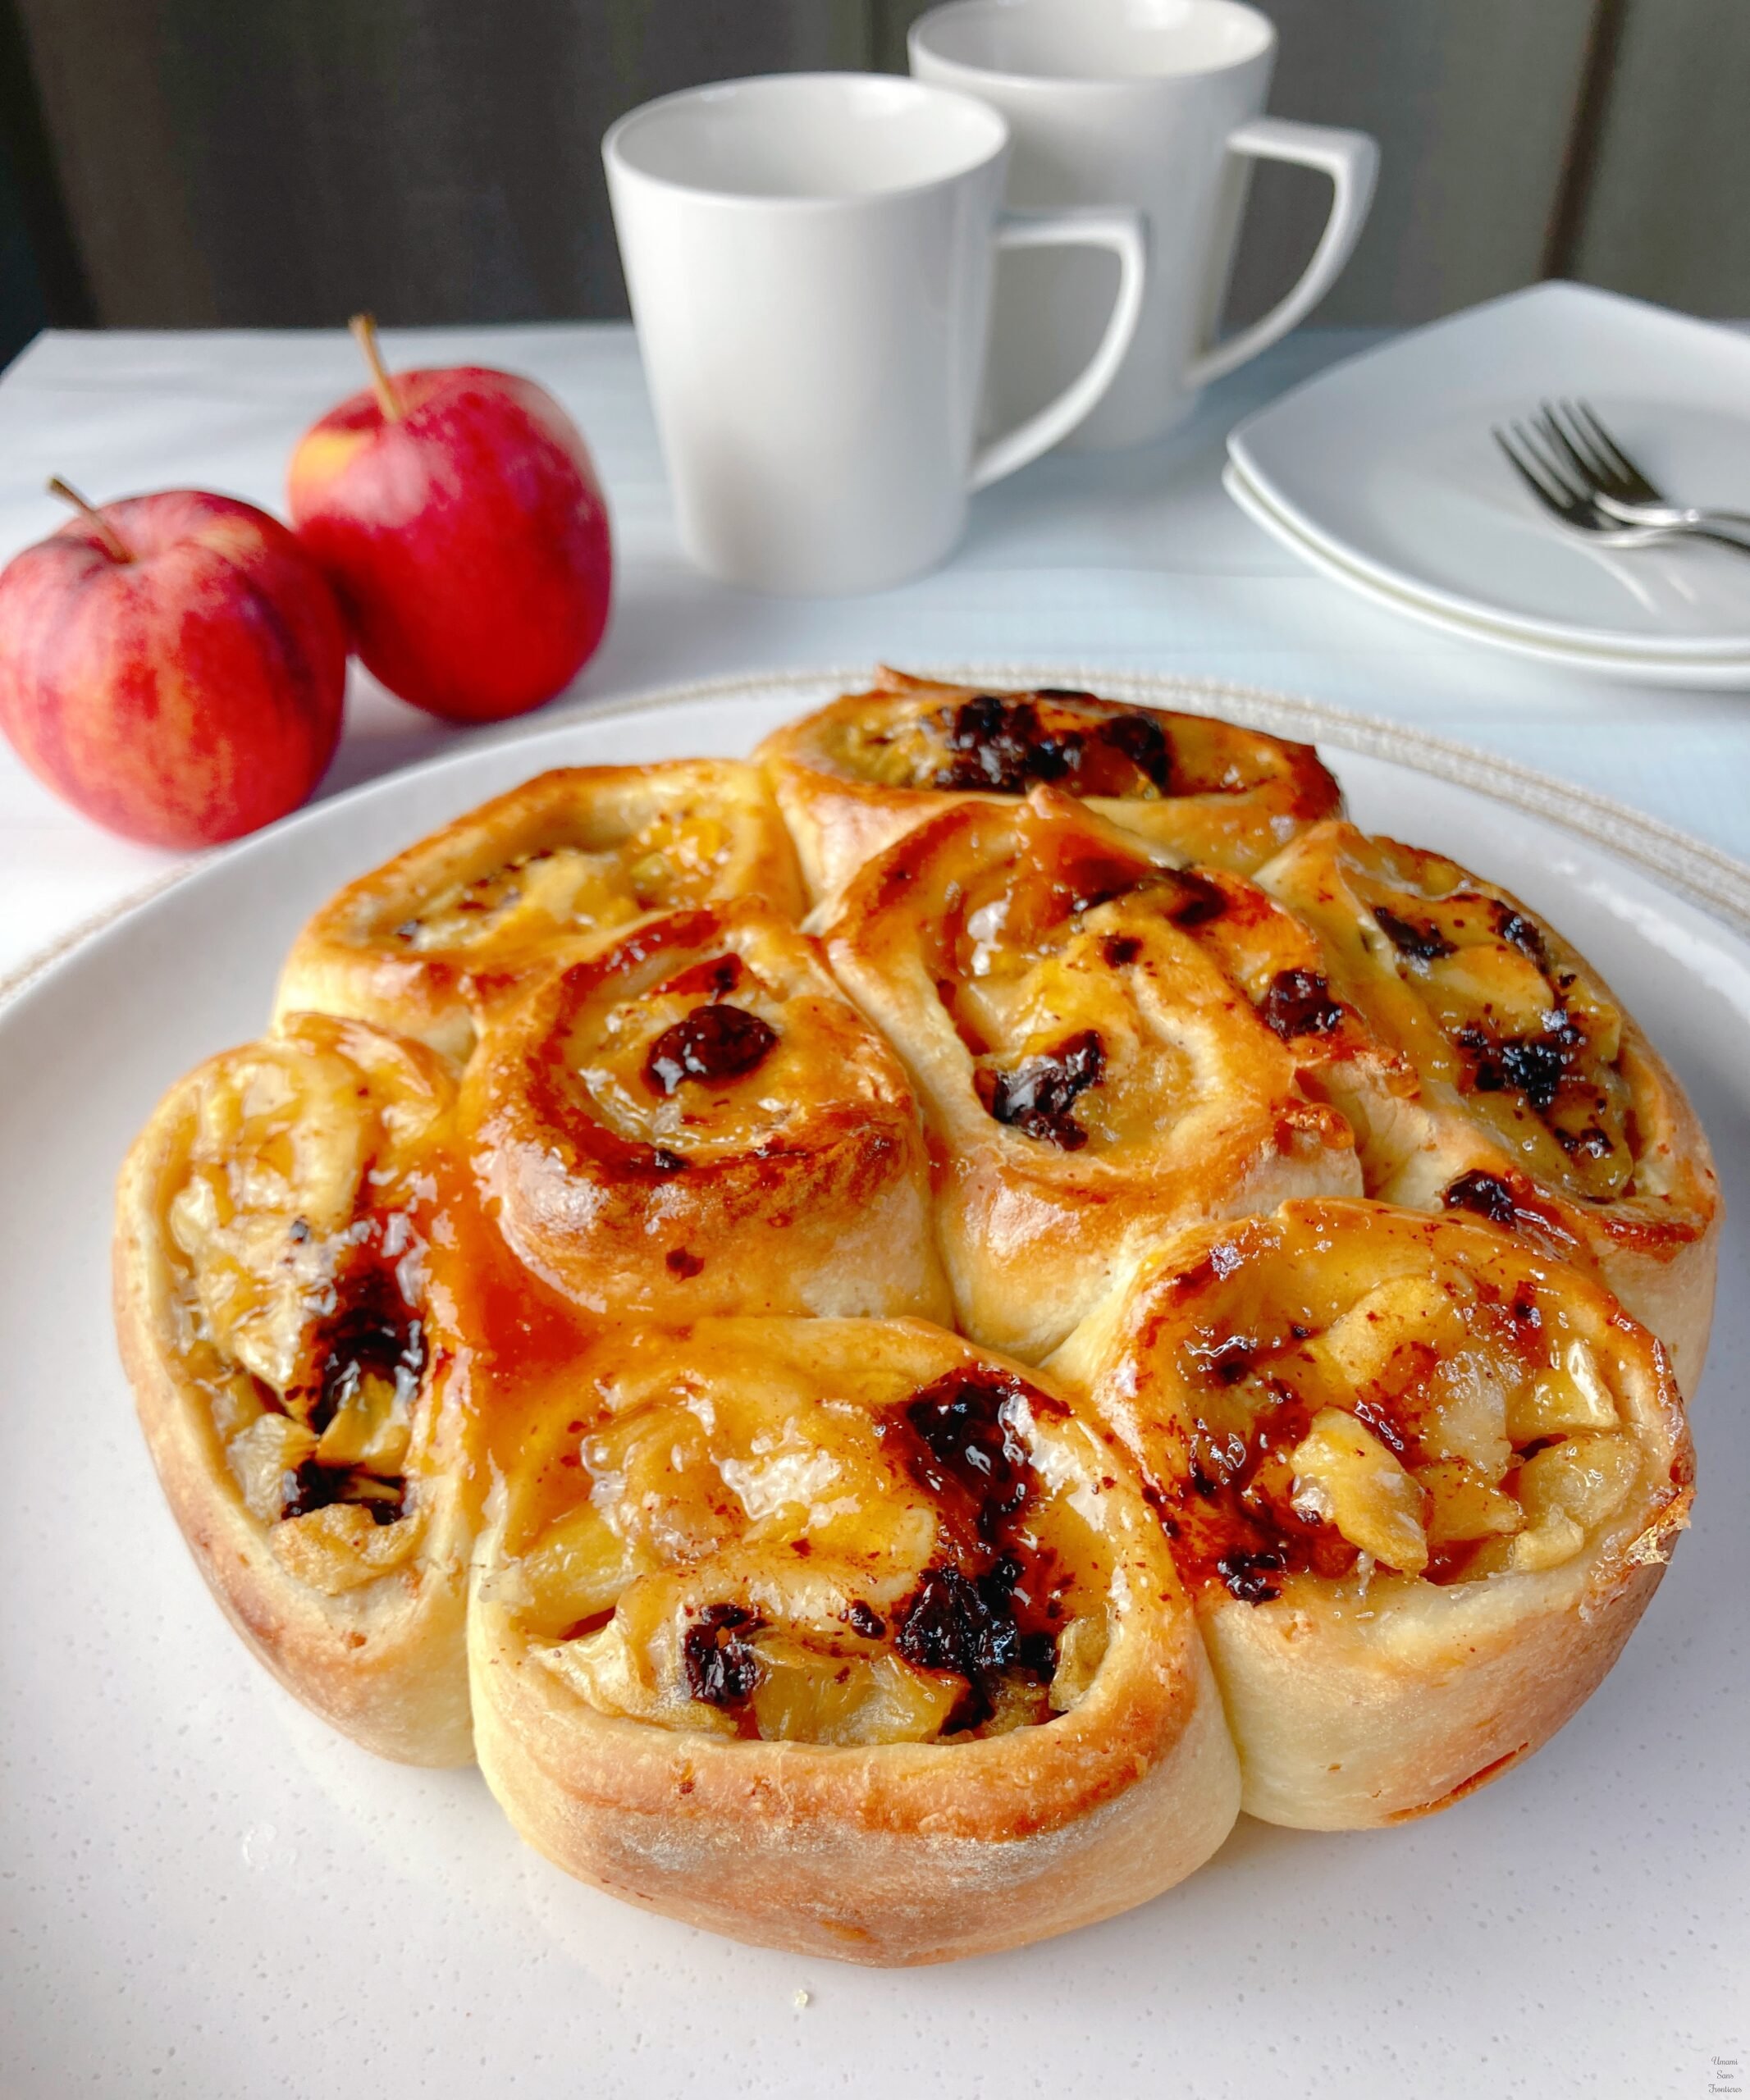
3/ Arrange the rolls in the prepared pan with the cut side facing up, leaving a little space between each piece.

4/ Cover and let rest for 15–20 minutes for the second rise.
1/ Lightly brush the tops with milk.
2/ Bake at 170°C (340°F) for 20–25 minutes.
If the tops brown too quickly, loosely cover with aluminum foil.
1/ Warm the apricot jam in a small saucepan and thin it with a little water.
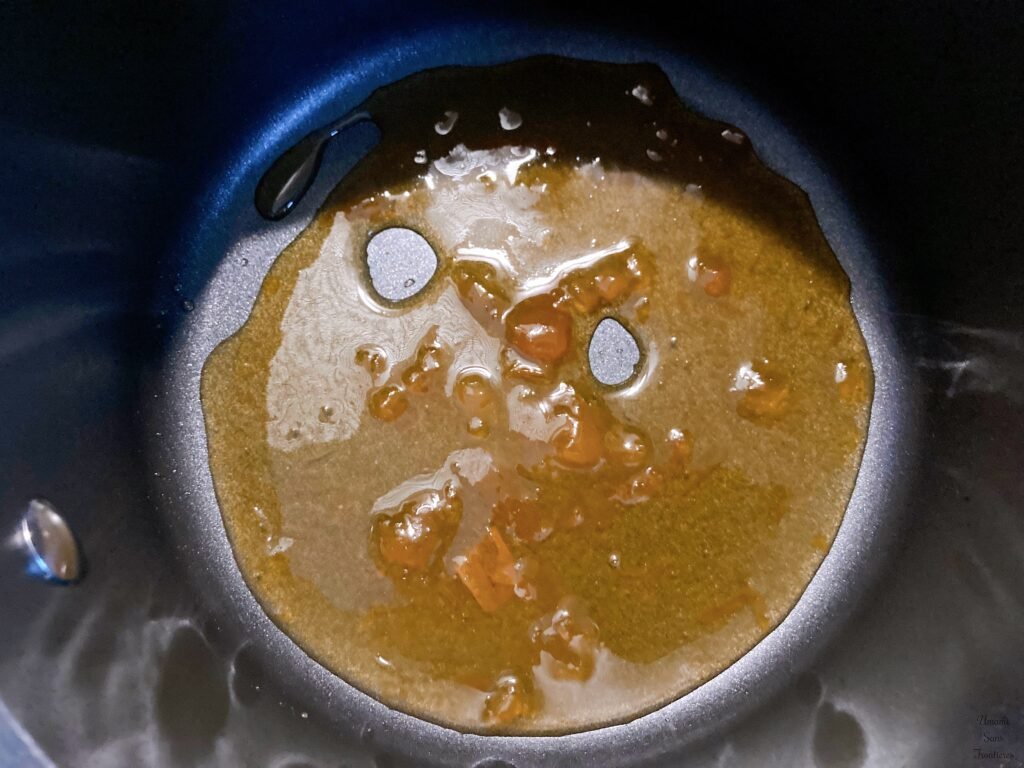
2/ Brush a thin layer of the warm jam over the freshly baked bread for shine.
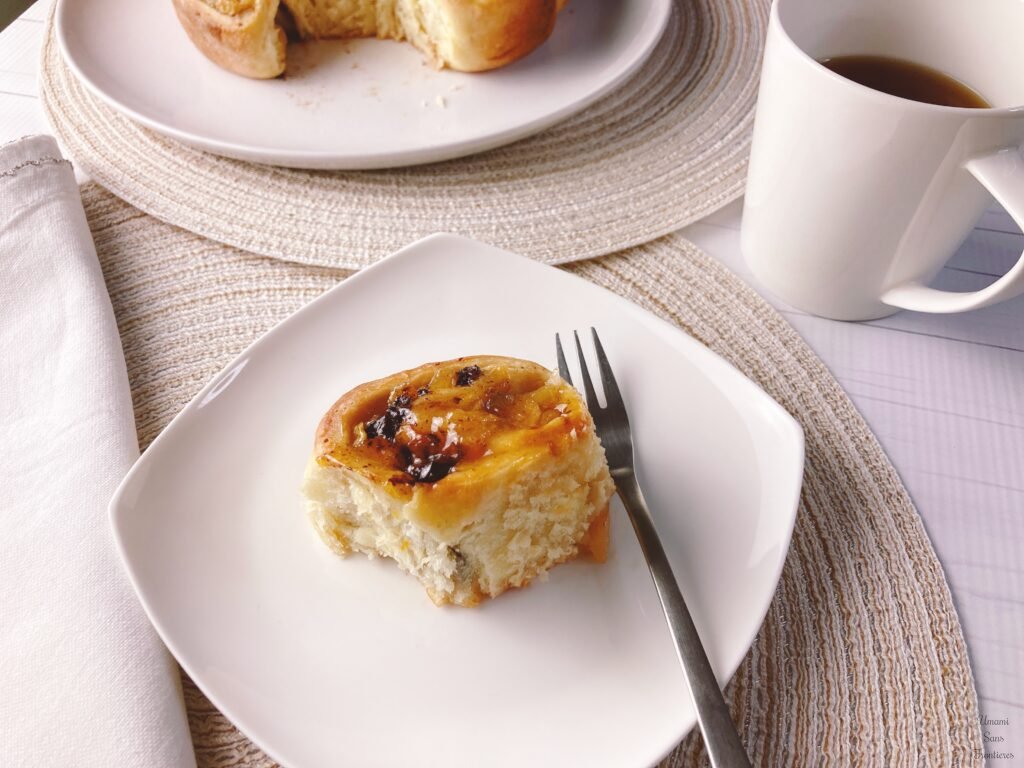
3/ Let cool in the pan for 10 minutes, then transfer to a wire rack. Once completely cooled, cut and enjoy.
🌟 Tips for the Best Results 🌟
⭐️ Light and Not Too Sweet — Easy to Enjoy Again and Again: Because the sugar is kept to a minimum, this bread never feels heavy, even when you keep eating it.
In our family, my daughter loves it so much that she reaches for it not only at breakfast, but also after coming home from school. The natural sweetness and moisture of the apples keep the dough soft and tender. When I baked it over the weekend, it disappeared in no time 😄
⭐️ Why It Works So Well for Breakfast: This is made with yeast dough, so it feels much lighter than a typical cake. That’s what makes it easy to enjoy in the morning, even when sweet desserts feel a bit too much. It’s the kind of bake you can eat without overthinking — perfect for everyday mornings.
⭐️ Making the Most of the Apples’ Moisture: Try not to cook the apples down too much.
Leaving a bit of texture allows their natural moisture to soak into the dough as it bakes, resulting in a soft, pleasantly moist crumb.
⭐️ Kneading the Dough: By Machine or By Hand: If you have a stand mixer or a machine with a dough hook, feel free to use it. This time, I kneaded the dough by hand because my machine was still in Germany — and it worked just fine. The dough can be a little sticky, but letting it rest briefly during kneading helps it come together smoothly.
⭐️ About the Jam Finish: You don’t have to stick to apricot jam. 🍎Apple jam, 🍊orange marmalade, or 🍑peach jam all work well, as long as the flavor is gentle. Warm the jam with a little water and brush it on lightly — this adds shine without making the bread too sweet.
⭐️ Storing and Enjoying Later: Once baked, let the bread cool completely before cutting.
Wrap each piece individually for storage. It freezes well, making it perfect for breakfast prep. When ready to eat, a quick warm-up brings back its soft, fluffy texture.