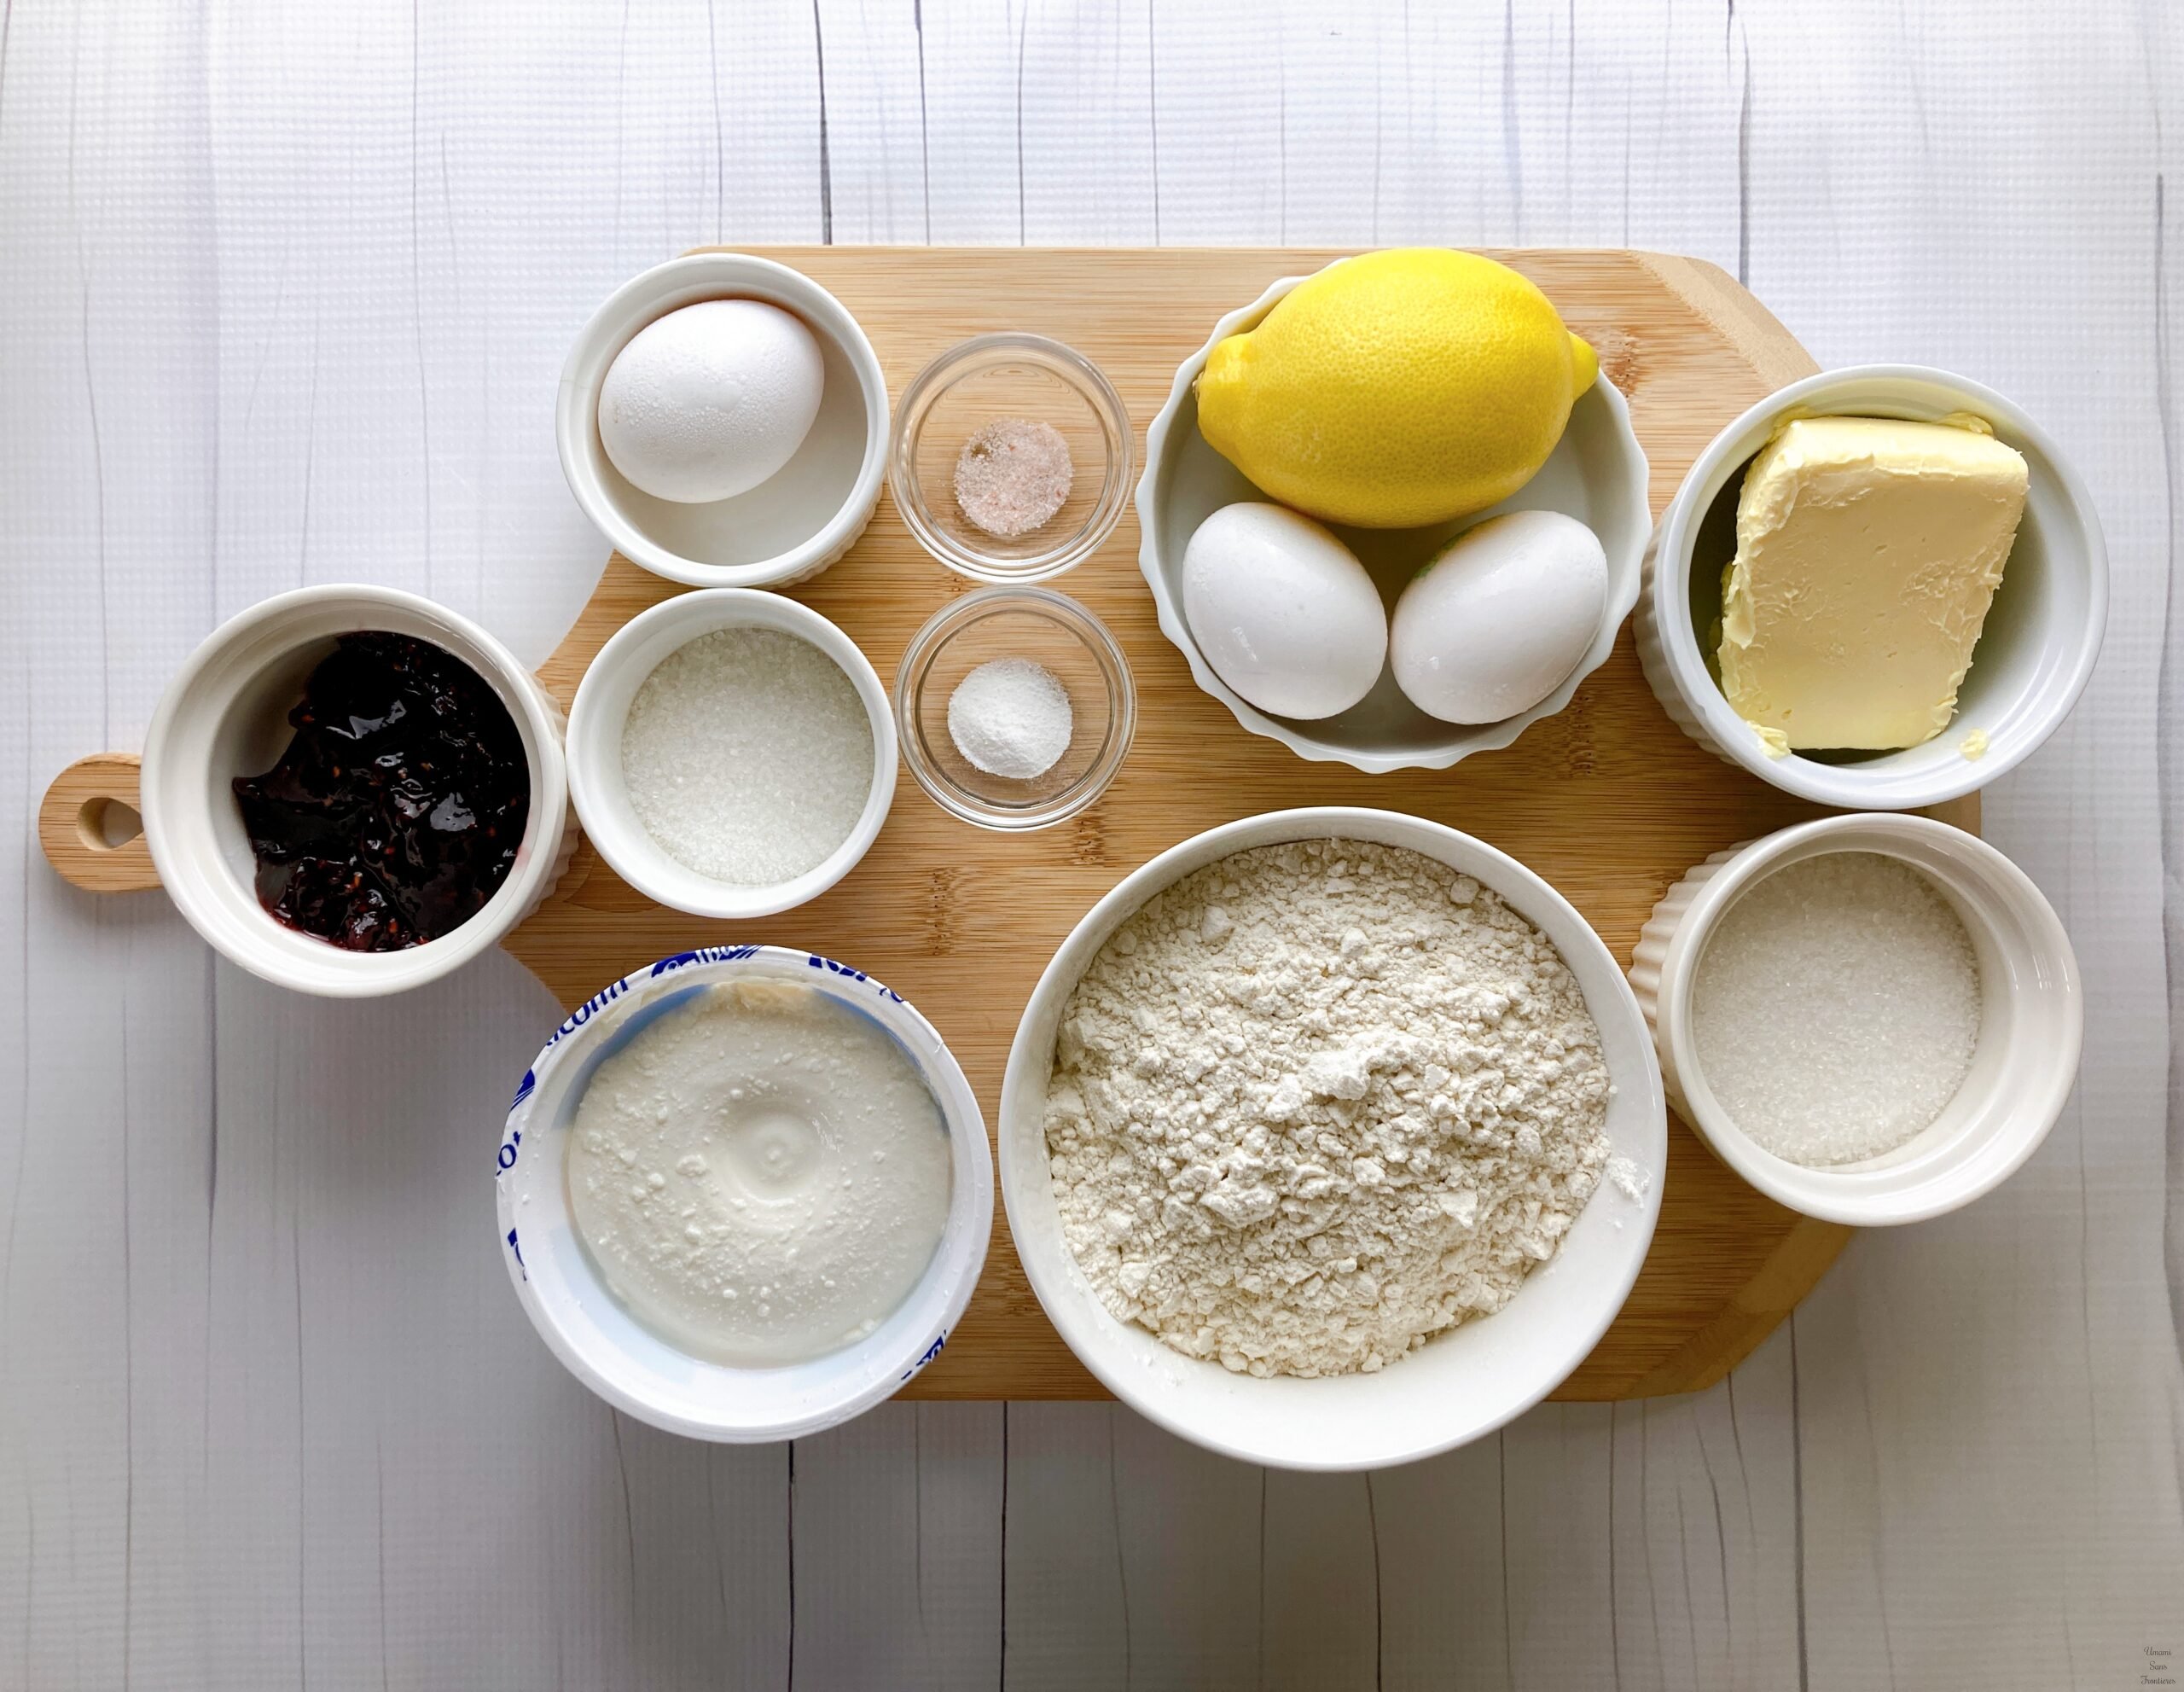
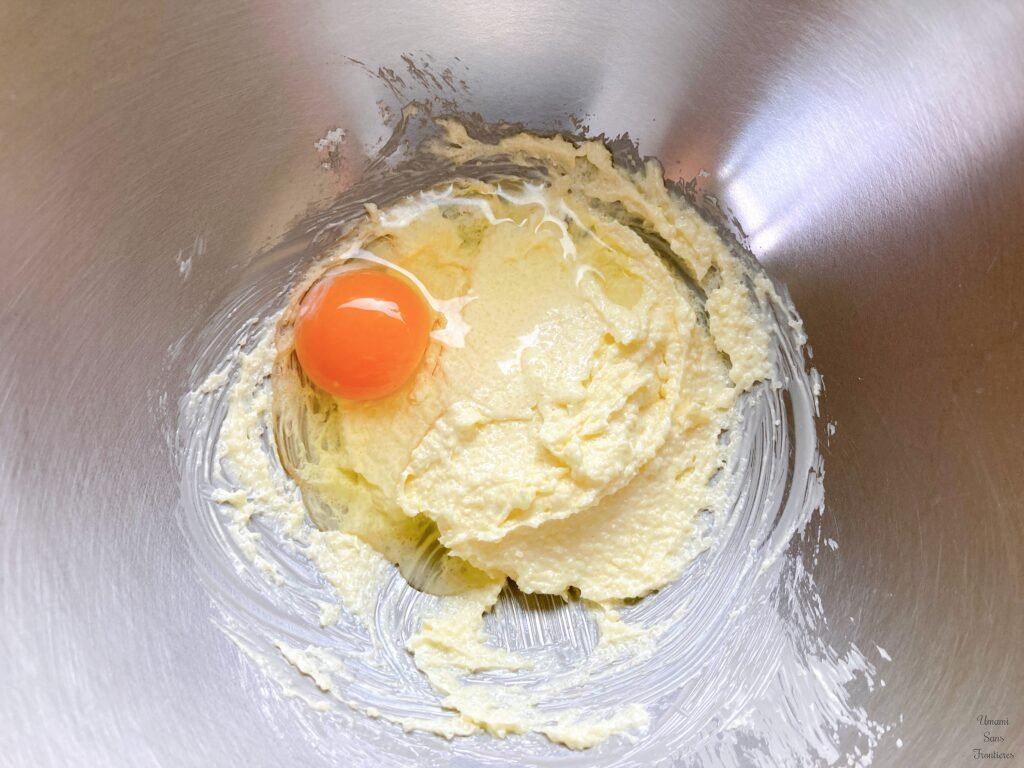
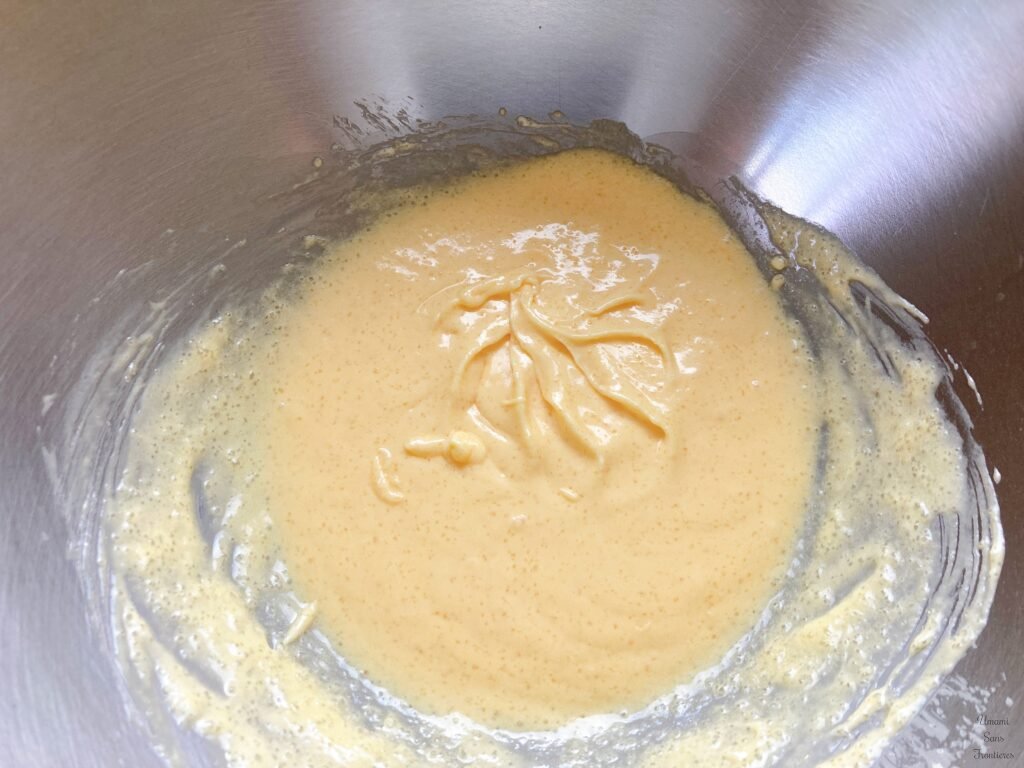
1/ In a bowl, combine the butter and sugar and mix with a spatula until smooth.
2/ Add the egg, then the egg yolk, mixing well after each addition.
 3/ Add the lemon zest (or vanilla).
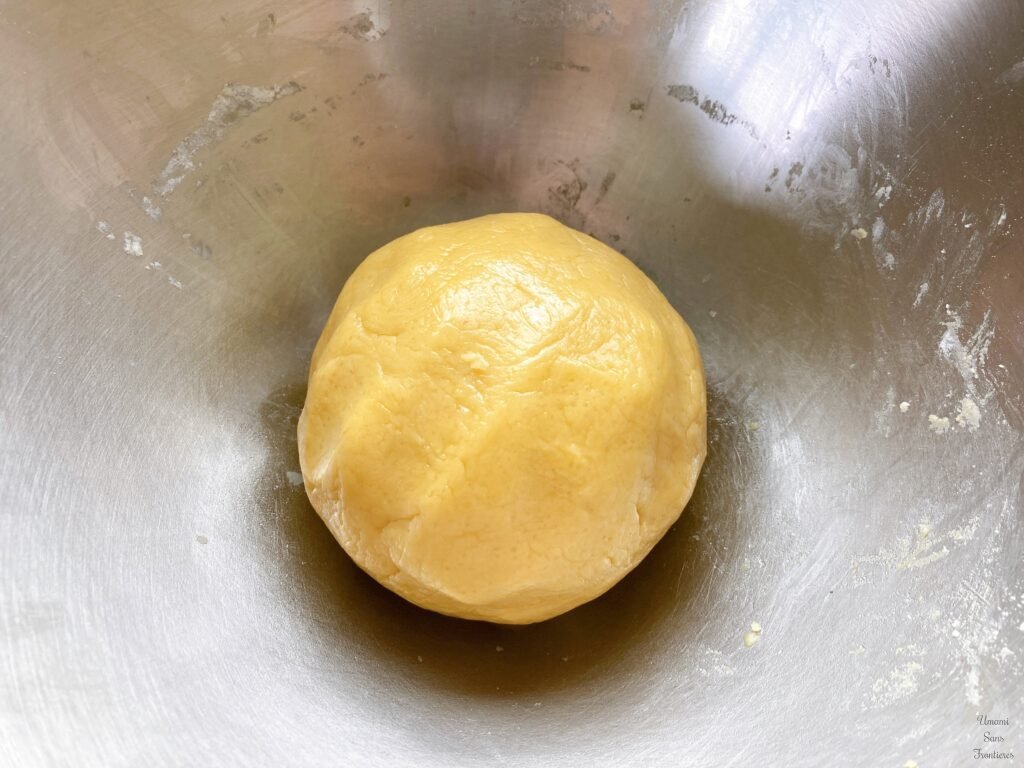
 4/ Add the all-purpose flour and salt, and mix with a spatula using a cutting motion. Once the dough becomes crumbly, gently bring it together by hand (do not knead).
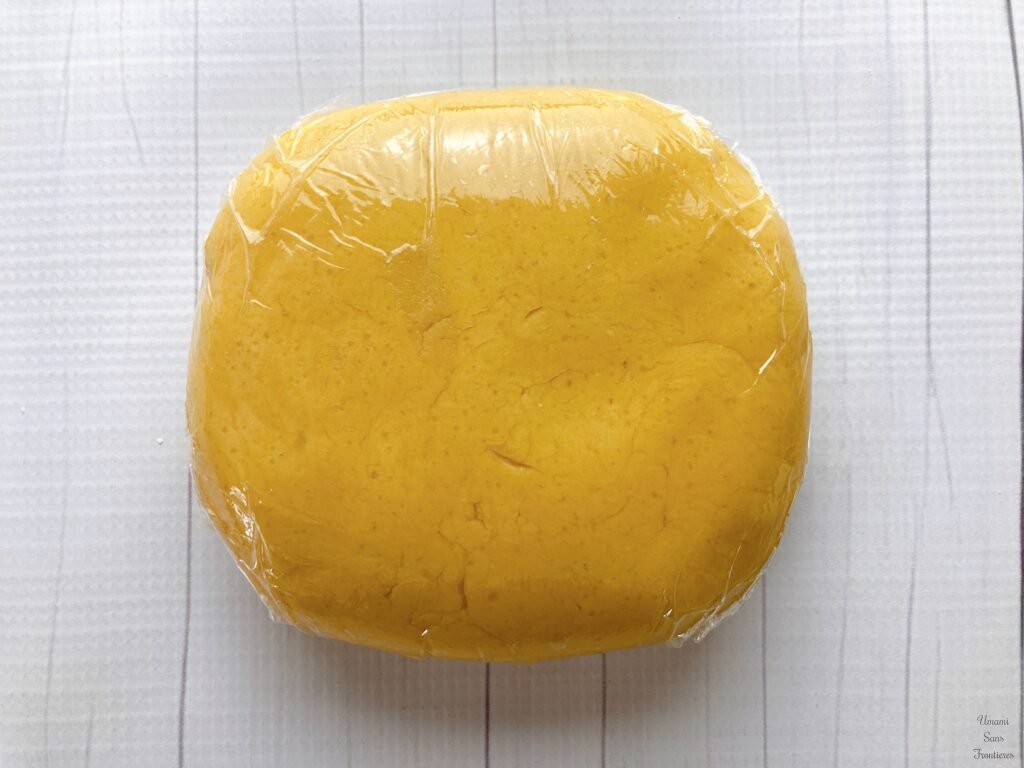
5/ Wrap in plastic wrap and shape into a disk about 2–3 cm thick. Chill in the refrigerator for about 45 minutes.
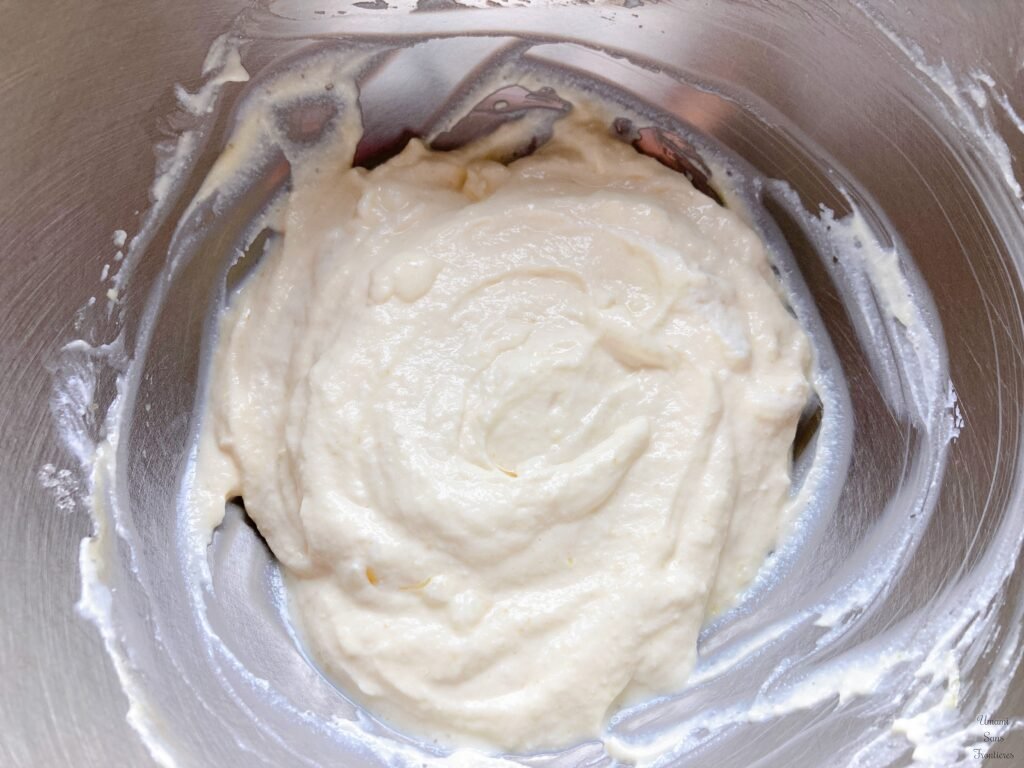
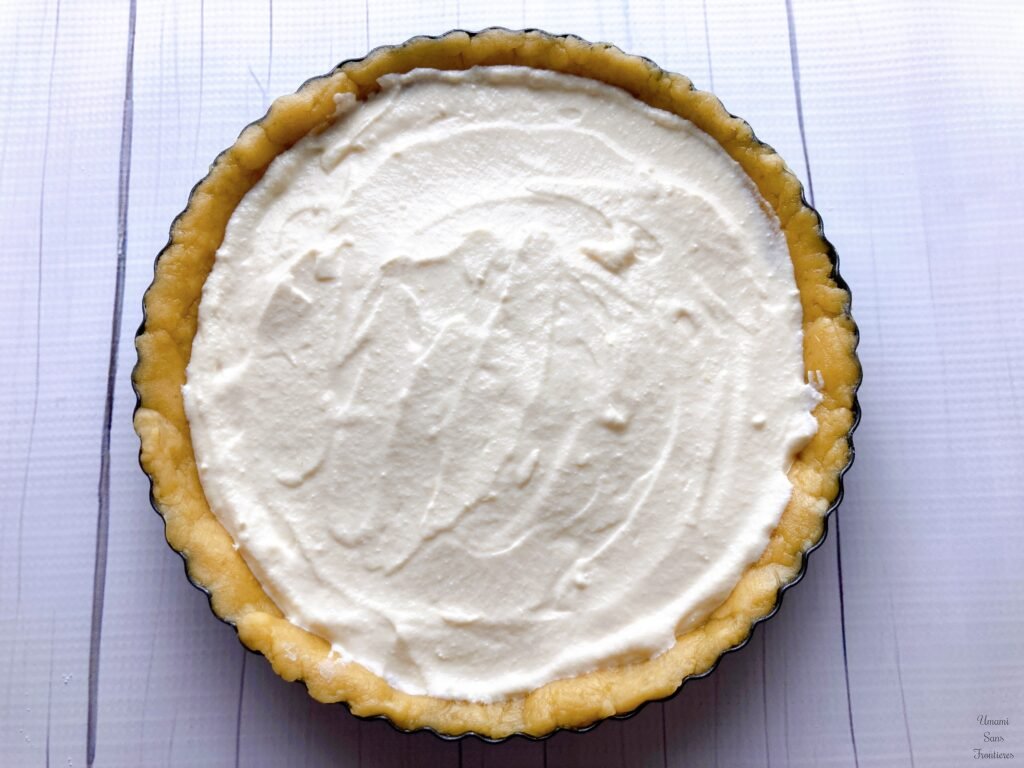
6/ Lightly loosen the ricotta, then add the sugar and mix.
7/ Add the egg and mix, then add the lemon zest. ※ Do not whisk. Mix gently with a spatula.
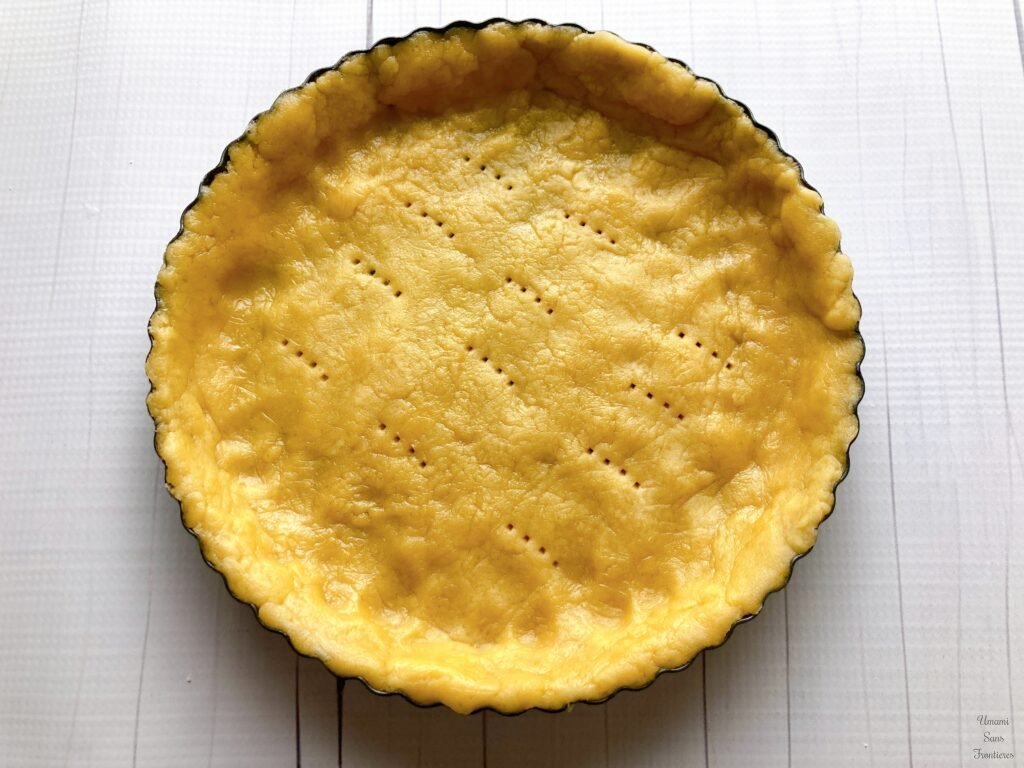
8/ Take the dough out of the refrigerator and let it rest for 5–10 minutes to soften slightly. Lightly butter the tart pan.
9/ Lightly flour the work surface and rolling pin, then roll out the dough to about 3 mm thickness.
10/ Transfer the dough directly into the pan. If it cracks, patch it as needed and gently press it into shape inside the pan. Use a fork to prick small holes in the base of the tart. This helps prevent the dough from puffing up while baking.
 11/ Add the ricotta filling and spread it evenly.
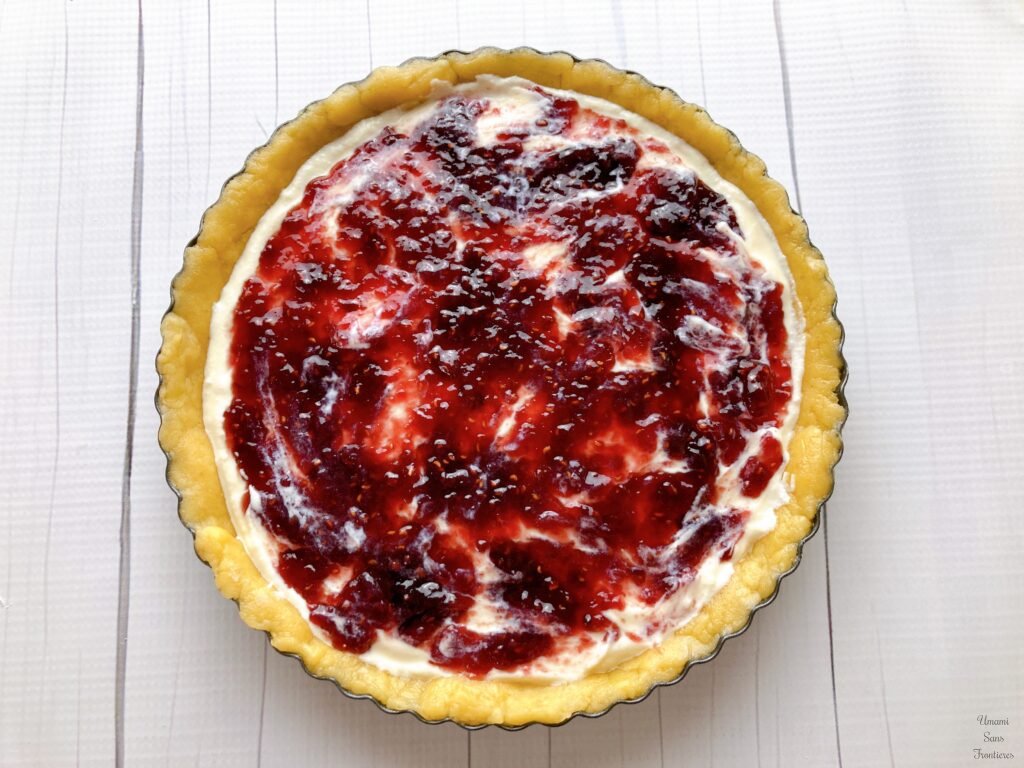
 12/ Spread the jam from the center outward, leaving a 5–8 mm border around the edges.
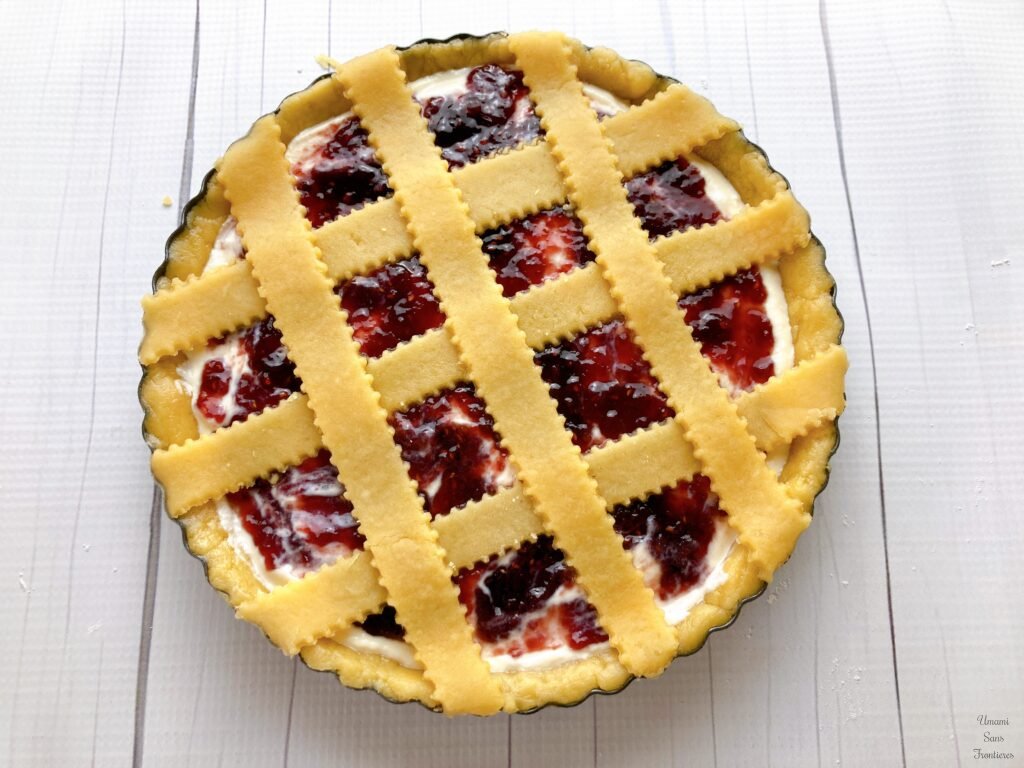
 13/ Gather the remaining dough, roll it out again, and cut into strips about 1–1.5 cm wide using a knife or scraper.
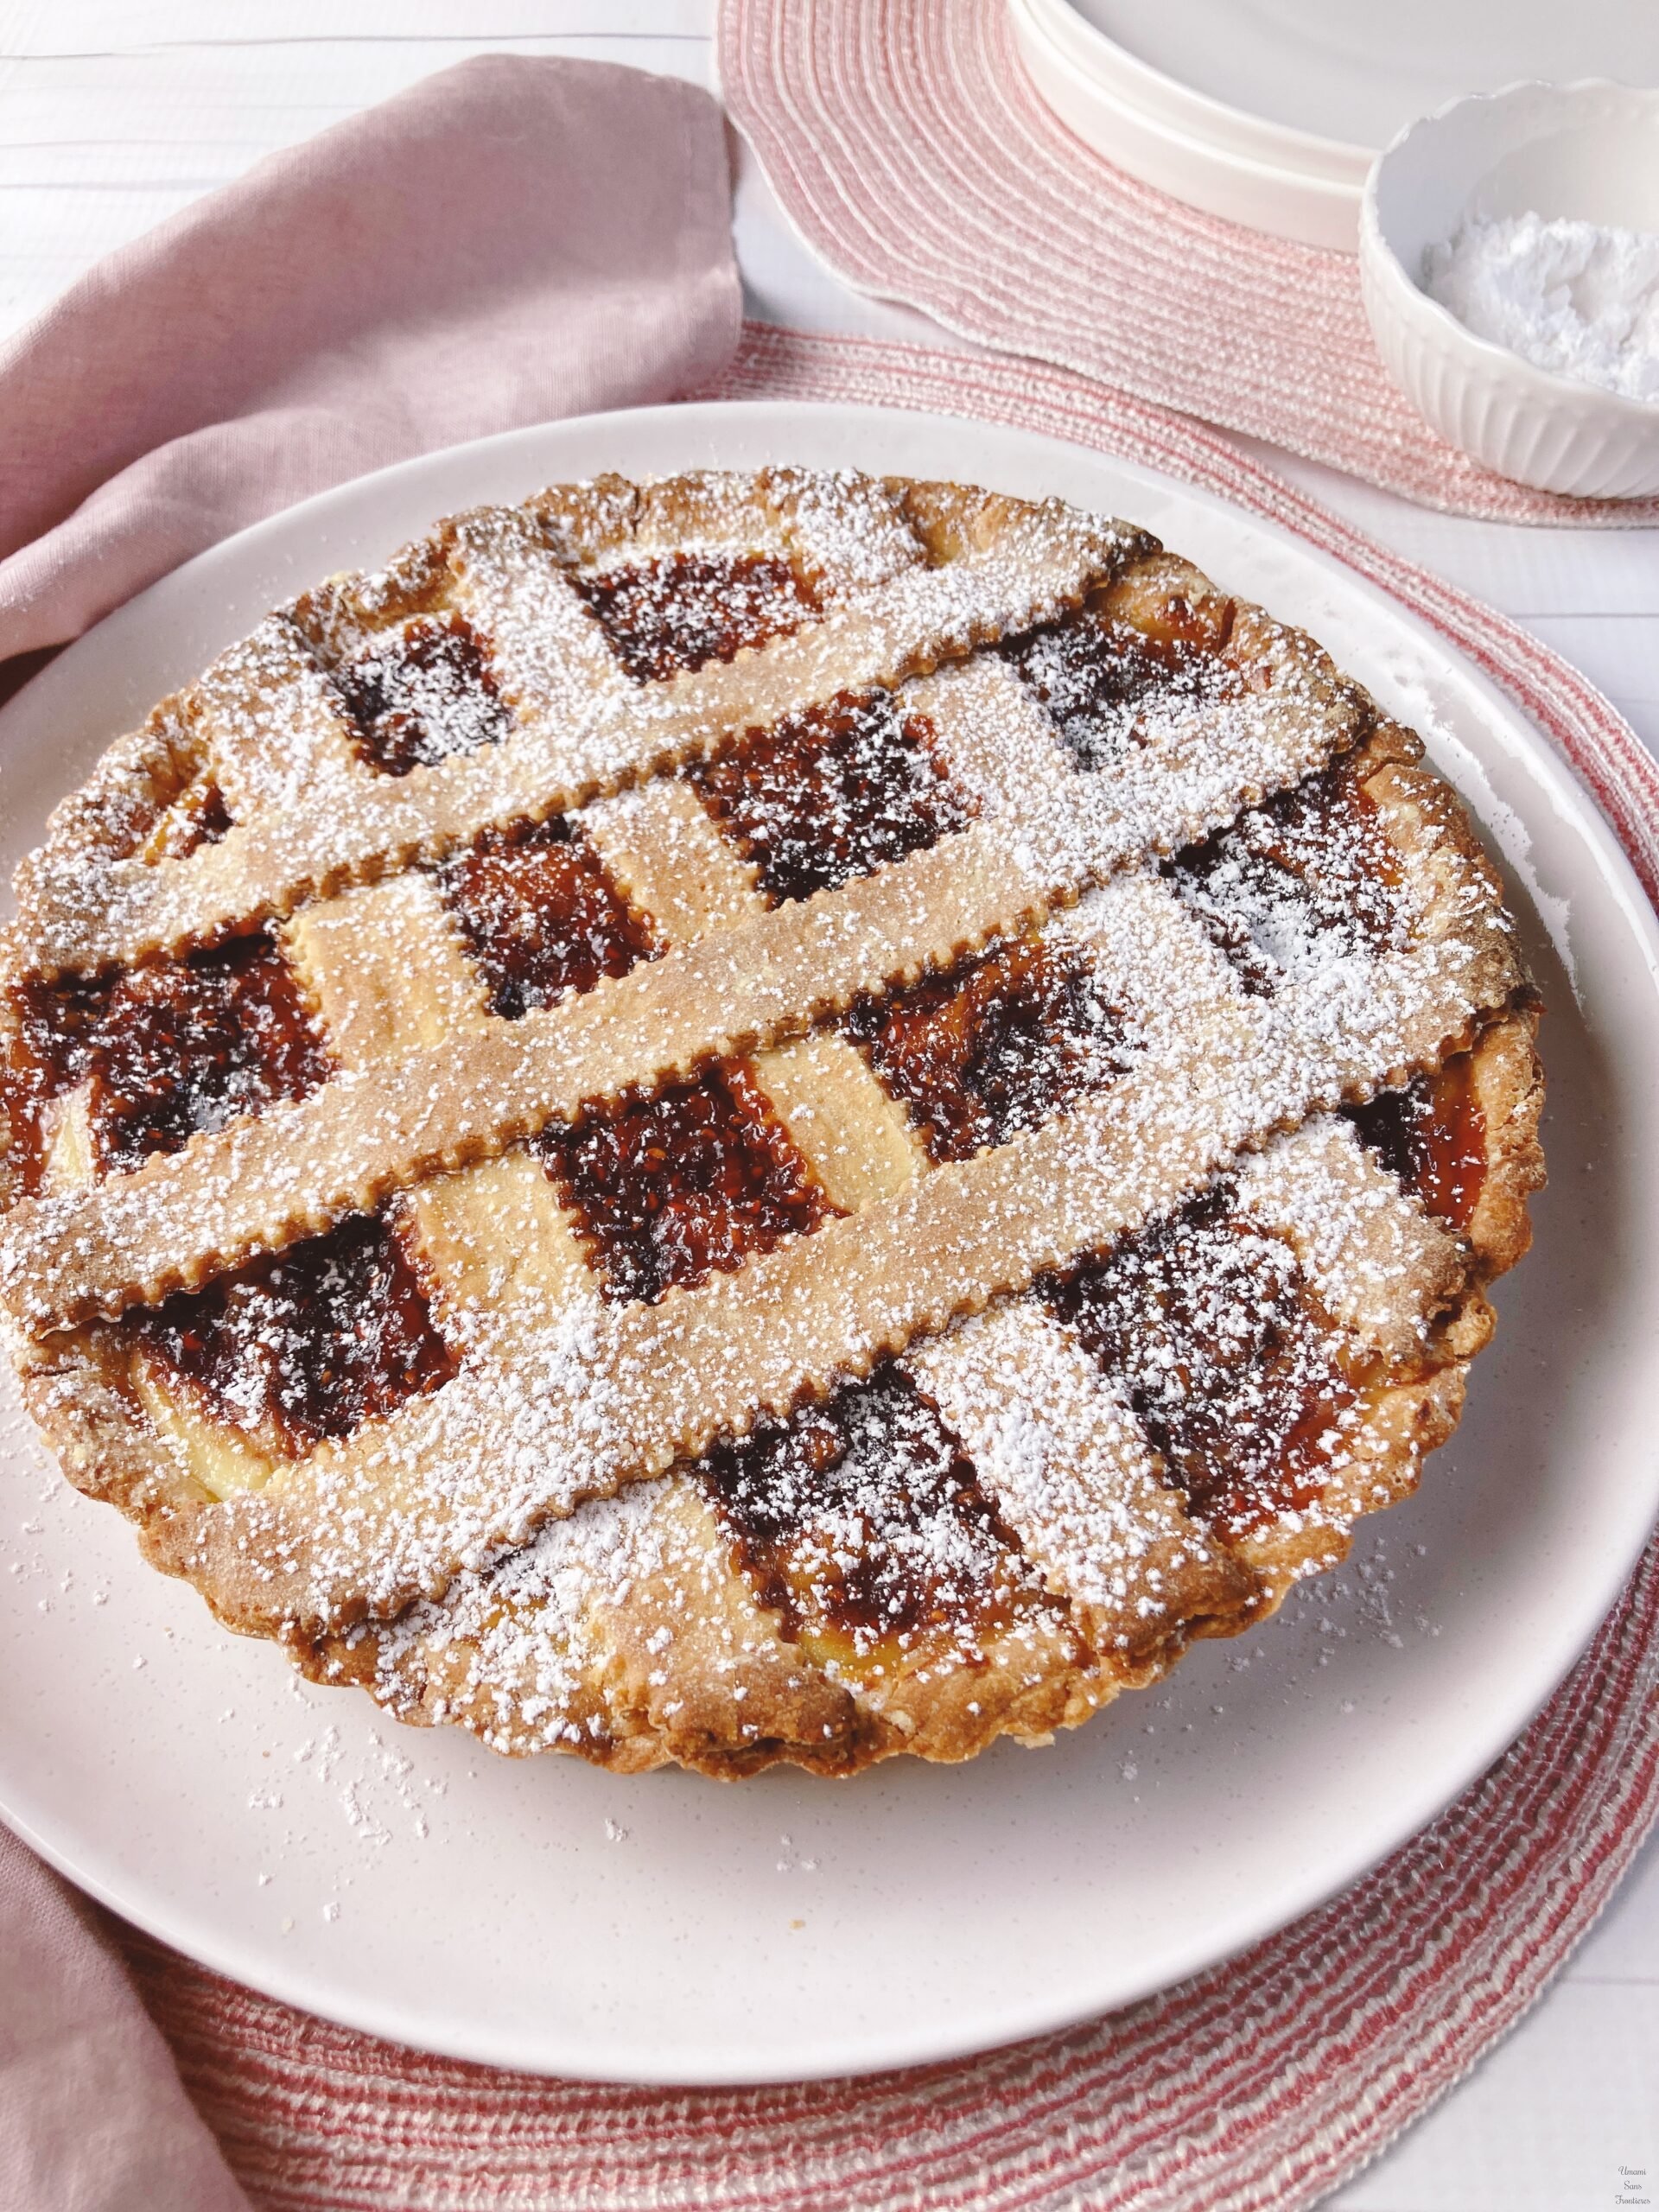
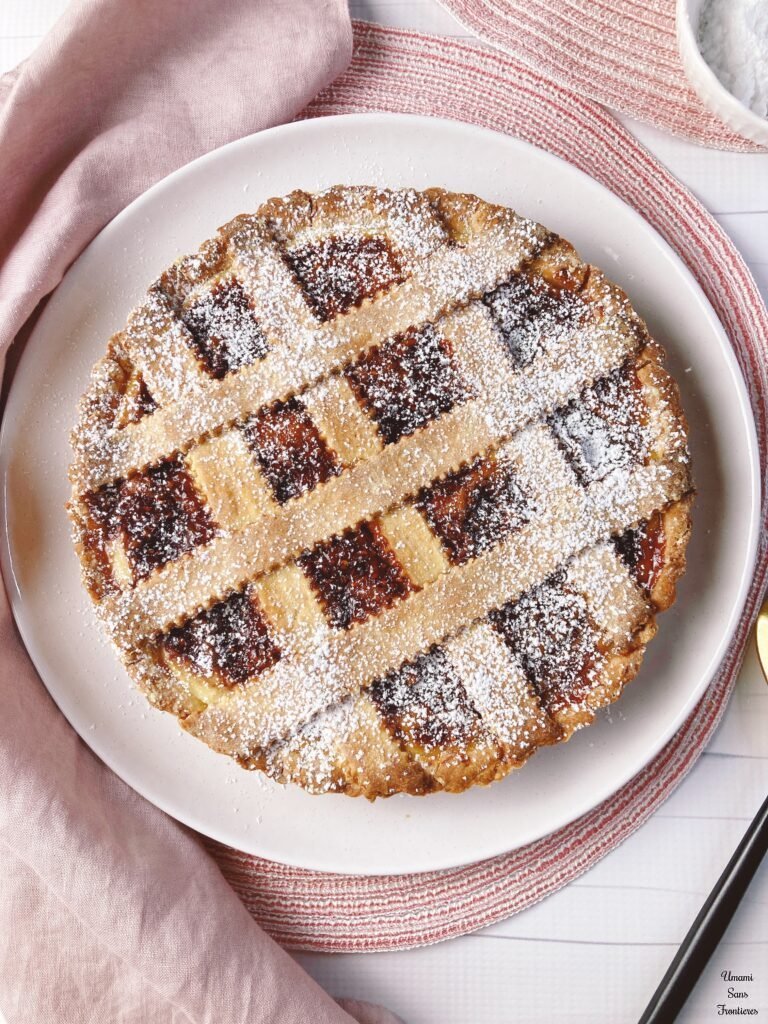
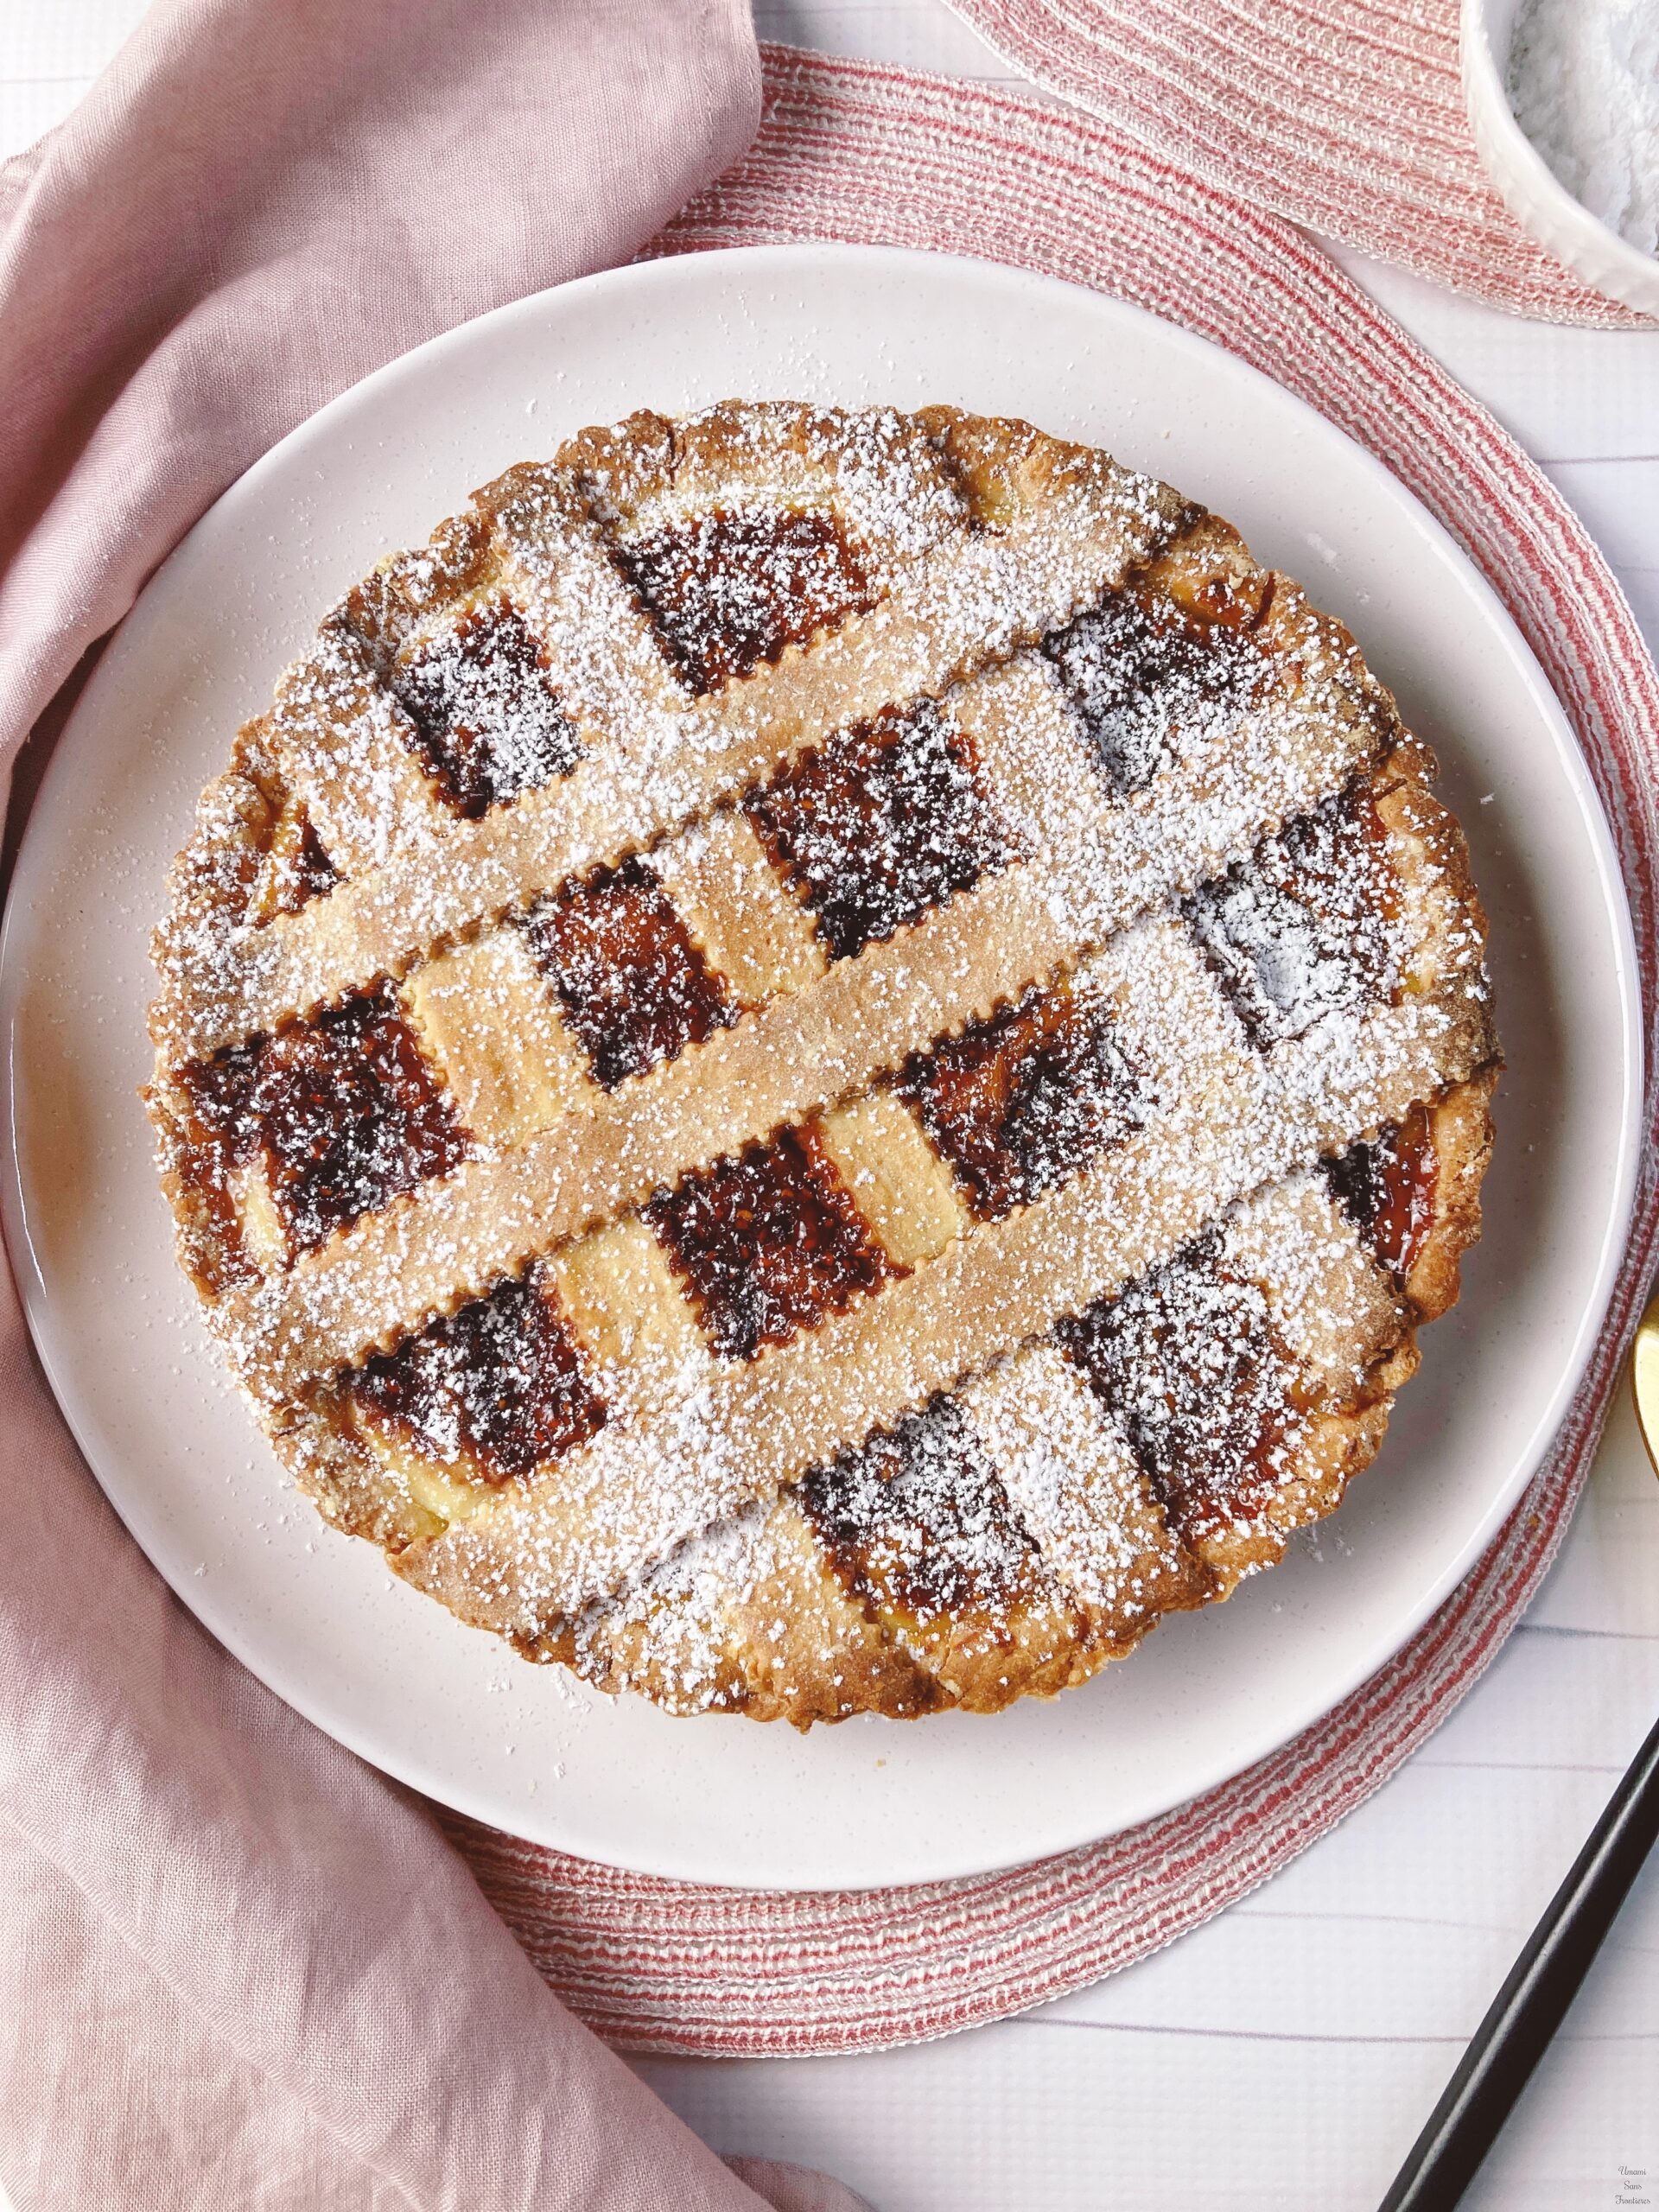
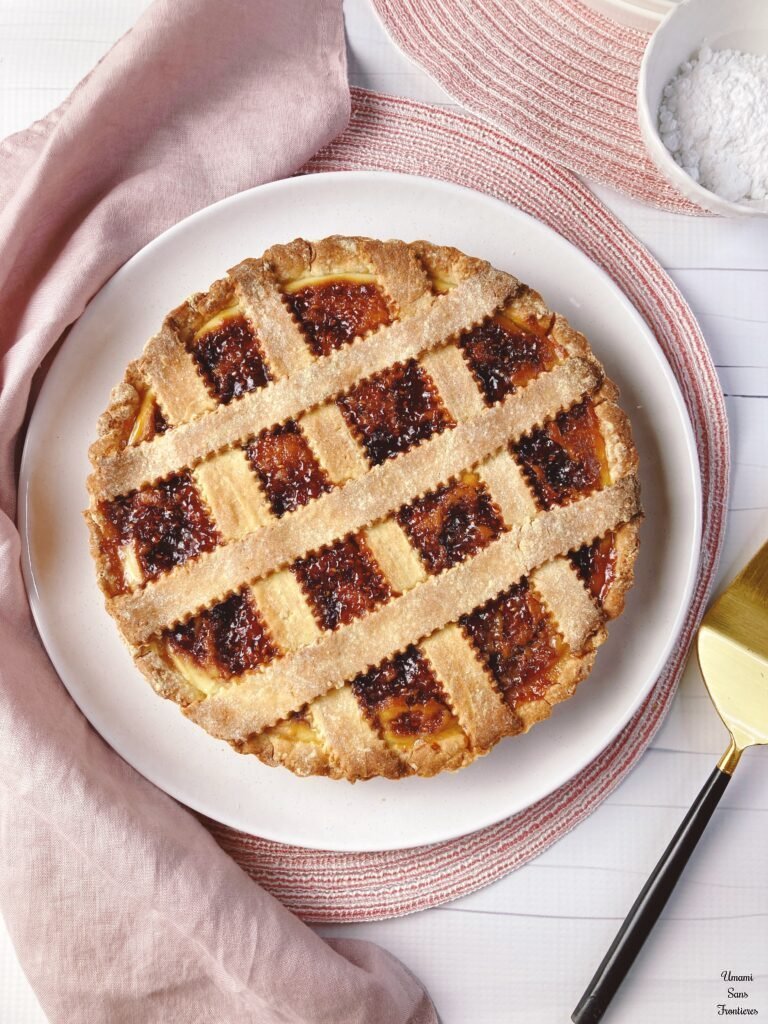
14/ Place three strips in one direction, then lay three more strips on top in the opposite direction. Trim any excess dough.
15/ Bake in a preheated oven at 170°C for 40–45 minutes.
※ The crostata is ready when the lattice is lightly golden and the filling is set with a slight spring in the center.
16/ Let cool in the pan. After about 1 hour, it can be sliced. Remove from the pan only after it has completely cooled.
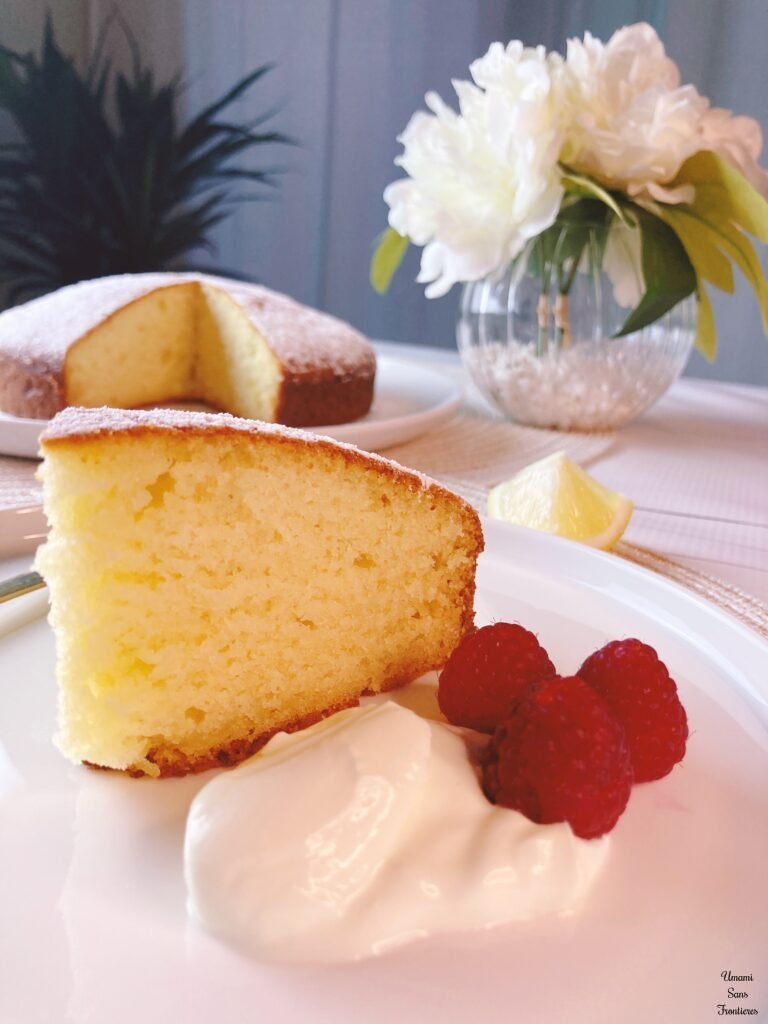
Dust with powdered sugar before serving, if desired.
🌟Simple Tips for a Better Crostata🌟
⭐️ Do not knead the dough: Once the dough comes together in a crumbly texture, it’s ready.
If you knead it too much, the baked crust will turn out hard.
⭐️ Mix the ricotta filling gently: Do not whisk. Simply mix lightly with a spatula to keep the texture smooth and light.
⭐️ No need to spread the jam all the way to the edges: The jam will spread slightly as it bakes, so leaving a small border around the edges works best.
⭐️ Keep the shaping simple: You may often see the method of wrapping the dough around a rolling pin to transfer it, but you don’t have to do that. You can place the dough directly into the pan and press it into shape with your hands. Another easy option is to set aside some dough for the lattice first, then press the remaining dough into the pan.
⭐️ Use simple tools for the lattice: A fluted cutter gives a nice decorative look, but a regular knife works perfectly fine.
⭐️ Feel free to change the jam: Try different jams like apricot or strawberry and enjoy the variations. Baking softens the flavor of the jam, creating a more mellow and delicate taste. Even my husband, who doesn’t usually eat jam, kept coming back for more.
⭐️ Even better the next day: The crust settles and becomes easier to slice, and it tastes just as delicious—even cold.